
So far we’ve built two applications that allow us to create new records – our LaRusso Autos app allows us to create new records for Manufacturers, Models, Vehicles and Services. Our Dojo Membership app is much simpler as it only uses the Contact table, and we can create new records in that table too.
However, there may be times when we need to create data in bulk, and to use the form interface to create tens, hundreds or thousands of records can be time consuming and tedious, and that’s where Dataflows come in!
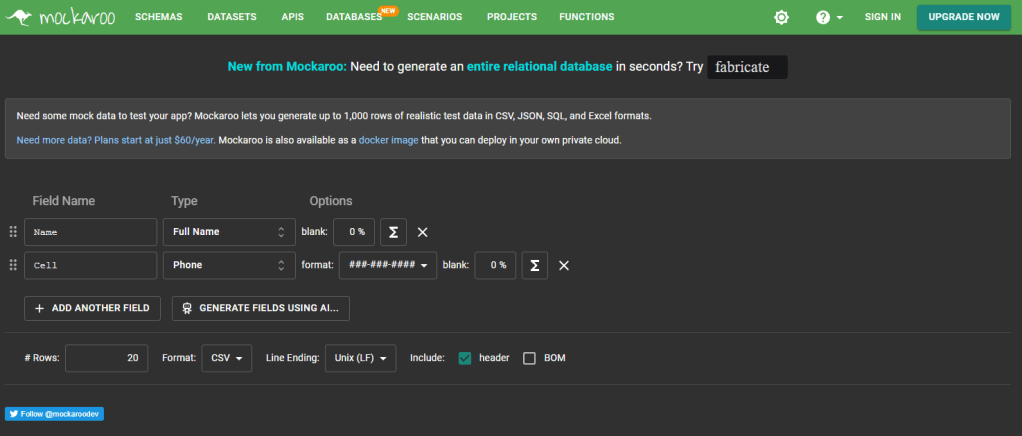
Jonny Lawrence has left the Cobra Kai dojo and joined forces with Daniel LaRusso over at the Miyagi-Do dojo, bringing many of his old students with him. Before leaving Cobra Kai, Jonny managed to obtain a CSV file of all his students and their contact details. In this post we’ll write a simple Dataflow to import the CSV file into the Contact table. His file contains:
- Student Name
- Student Cellphone number
For this post, I generated a CSV file of fictional students using the excellent Mockaroo service, which can generate random datasets for a range of different columns types – take a look!
Within my Dojo Membership solution, I select + New > Automation > Dataflow from the top ribbon.

I give my Dataflow the name Import Dojo Members and click Create.

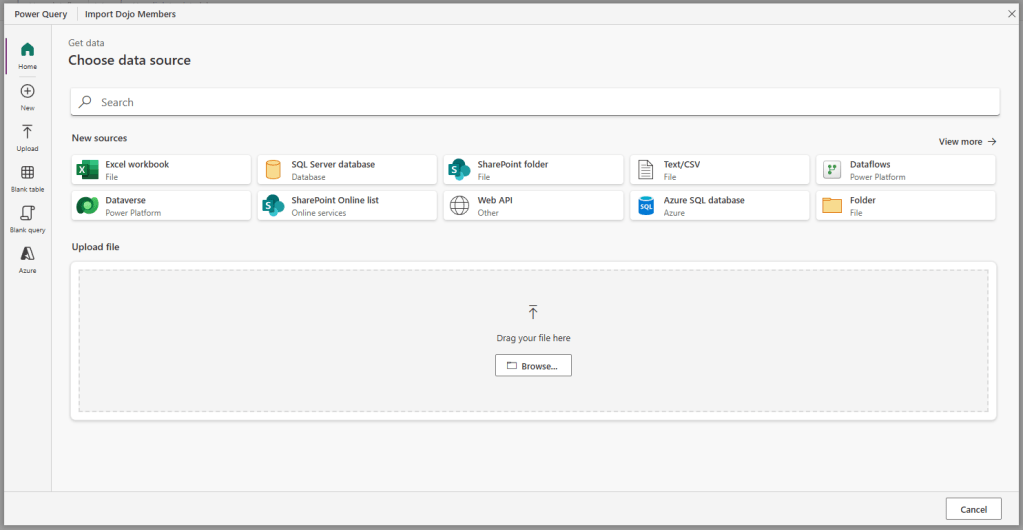
Dataflows can pull data from a variety of different sources, including (but not limited to)
- Excel workbooks
- SQL Server databases
- Dataverse
- SharePoint
- Access databases
- Salesforce
- Snowflake
- Oracle databases
- MySQL databases
Today we’re interested in the humble CSV file, which I’ll upload directly from the dialog shown.
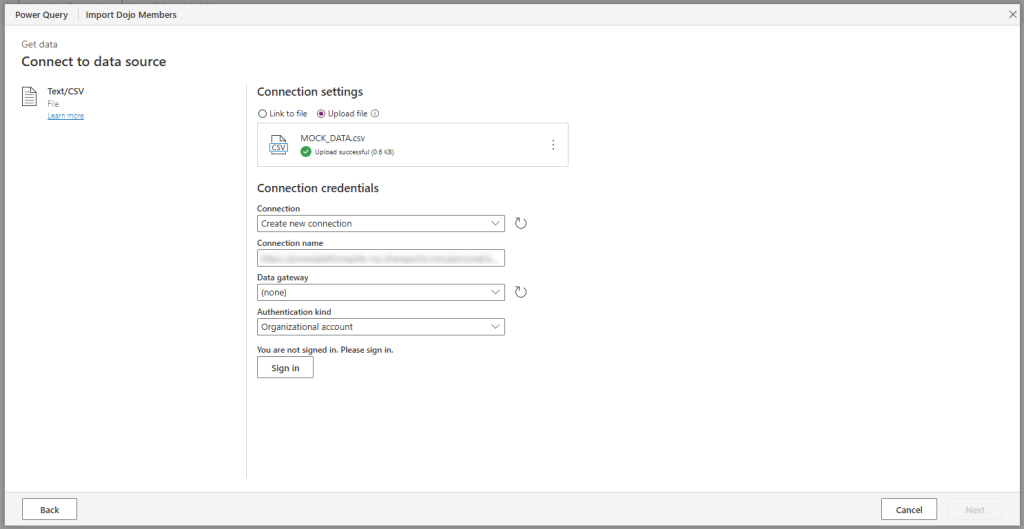
Having uploaded the data, I’m asked to create a connection to Dataverse, as it will be our output destination. I click the sign in button to sign in with my credentials – when records are imported by the Dataflow, the owner of those records will be the same user whose credentials are used in this step. Click the Next button.
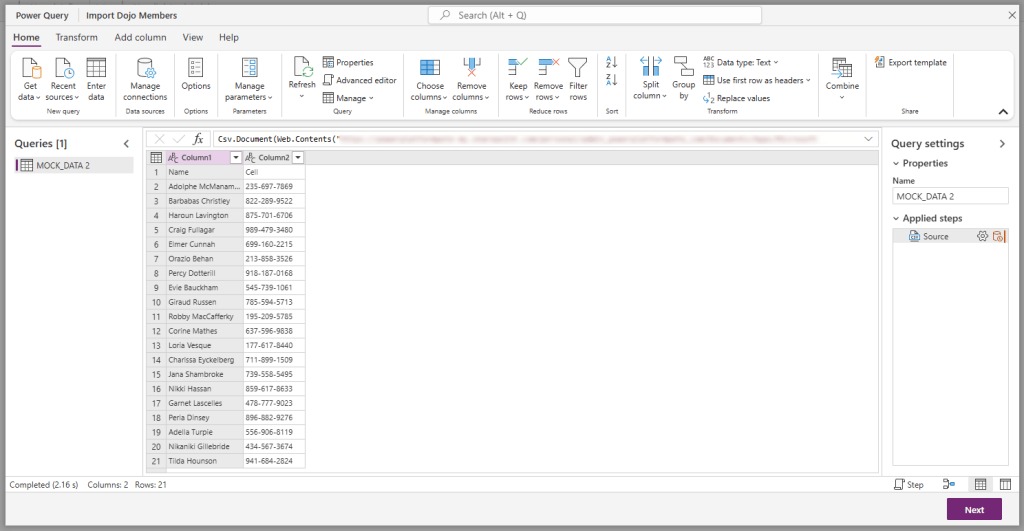
We are then presented with a preview of the data loaded. Note the first row has the values of Name and Cell – we want to treat these as file headers rather than a record. Furthermore, the CSV records full names rather than First Name and Surname separately. Asa result, we need to do some data transformation. Click on the Transform data button.

We have arrived at the Power Query screen! The first thing to do is to click the button in the top ribbon marked Use first row as headers.
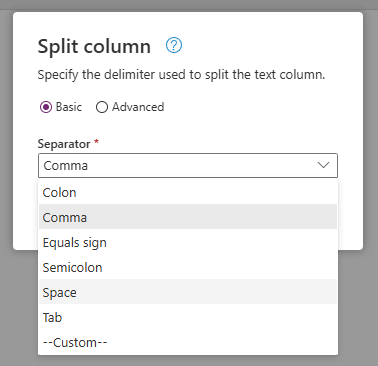
Next, we want to split the Name column into First Name and Surname. Click on the Split column button and select the By delimiter option.

From the popup dialog, click on the Separator dropdown and select Space.
The result is that the Name column in split into two columns – Name.1 and Name.2.
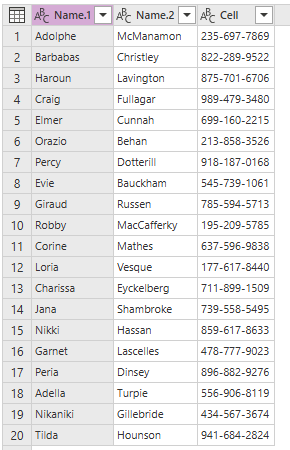
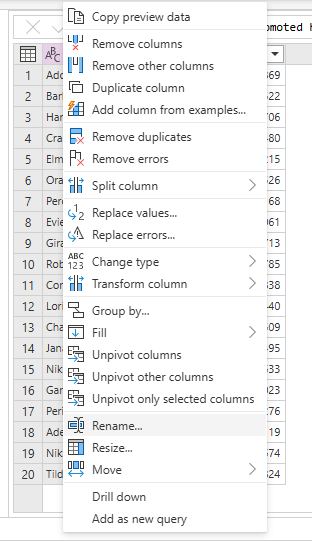
Right click on the Name.1 header and select the Rename option. Rename our column as First Name. Repeat the process for the Name.2 column to rename as Surname.
If we click the Next button, we are taken to the Choose destination settings screen. As we are importing data into the existing Contact table, we select the Load to existing table radio button and select the Destination table option as Contact.

Next we click the Import method section – the default selection is to Append data to our destination table – leave this as is, that’s what we want.

Lastly, we have our column mapping screen. The columns in our source dataset may have different names from the destination table – this section is where we specify how the columns in our source dataset are to be mapped to columns in our destination Dataverse table.
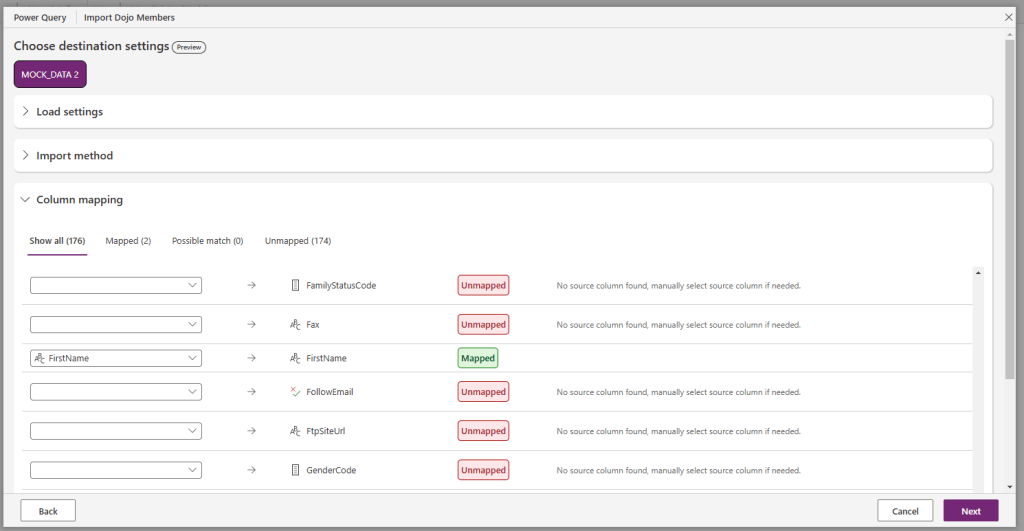
The mapping we use in our example is as follows
- First Name -> FirstName
- Surname -> LastName
- Cell -> Telephone1
If we clicked on the Mapped link, we should see our columns mapped successfully.

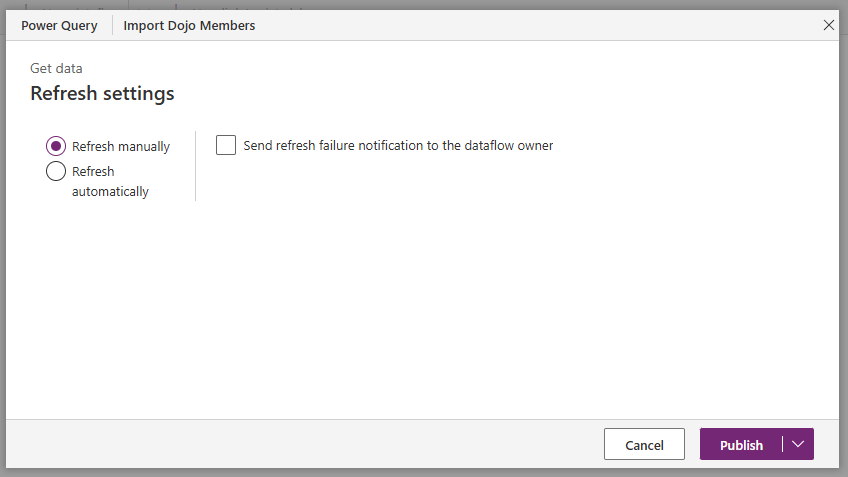
Click on the Next button to show our Refresh settings. For our example, we are happy with the default value of Refresh manually, so we leave as is. This is because we are doing a one-off data load from a single file. Potentially, we could be reading from another data source that is regularly updated and there may be a requirement to keep our data in sync, but that is not the case in our example today. Click on the Publish button.
This will bring us back to our Dataflows screen showing that our Dataflow has been published and that a refresh is in progress.

This screen will update the Last refresh column when complete. Once completed, we can take a look at our Dojo Membership app to see the imported records.
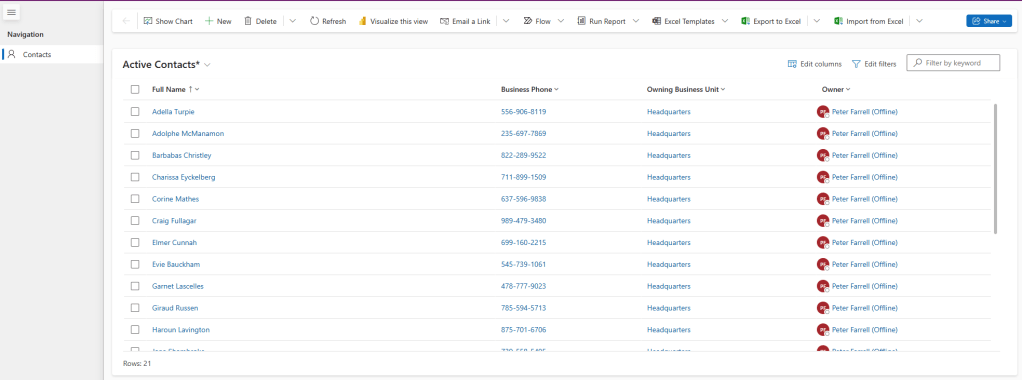
And just like that, all the ex-Cobra Kai students are now Miyagi-Do students!
Note that all records have been created under the Headquarters business unit (see our previous post here), and the Owner is your truly! This is because I used my credentials in the earlier step and I am a member of the Headquarters business unit. If I had used Jonny Lawrence’s credentials, then he would be the Owner and the records would be in his Business Unit – California.
Note that we can quickly rectify this be selecting multiple records first
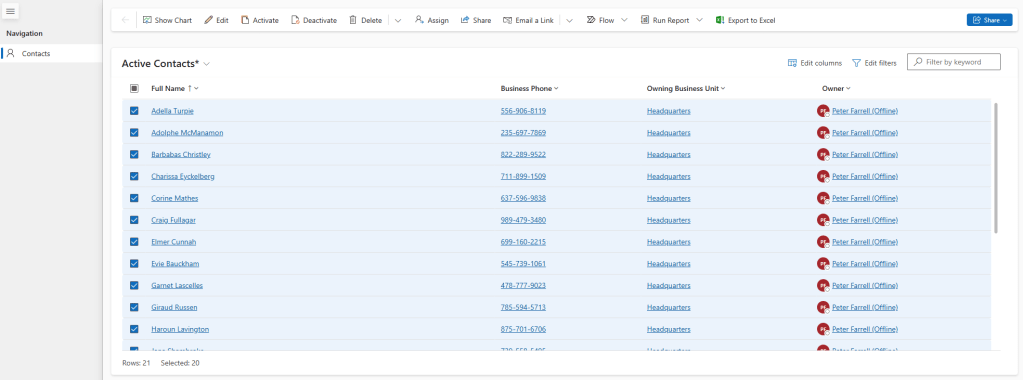
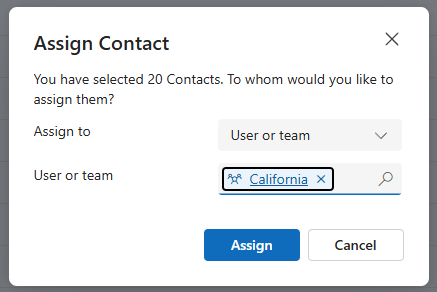
Then click the Assign button. From the popup that appears, we set
- Assign to – User or team
- User or team – California
And then click Assign.
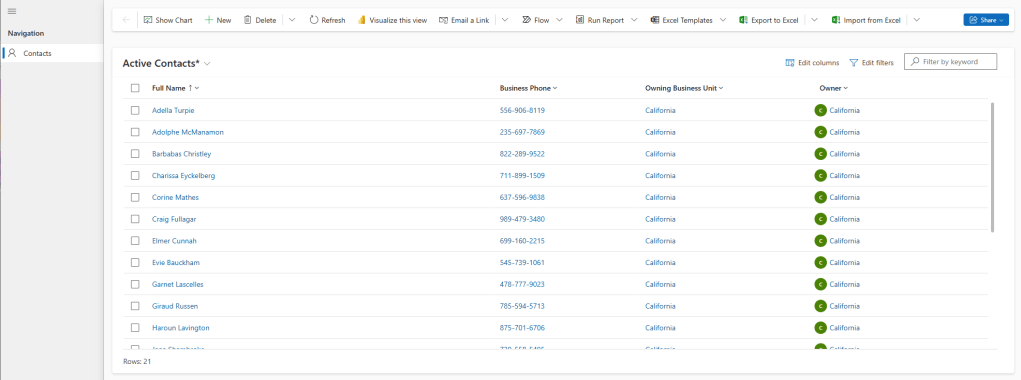
And now finally, all Jonny’s students are listed as being in the California branch of the Miyagi-do dojo.

Leave a reply to Bulk Importing Data using Dataflows Part 3: Multiple Tables – Reference Tables – Power Platform Pete Cancel reply