
In a model-driven app, a View is the UI element that represents how a table of data is to be displayed. In defining a view, we can specify:
- which columns are to be displayed
- the order of the columns
- the default sorting
- any applicable filters
So far in our LaRusso Autos app, we’re just using the default filters for each table entity – the Active and Inactive filters. We’ve already shown how users can filter view data as they please – to recap, here is the list of Active Manufacturers being filtered by Country.
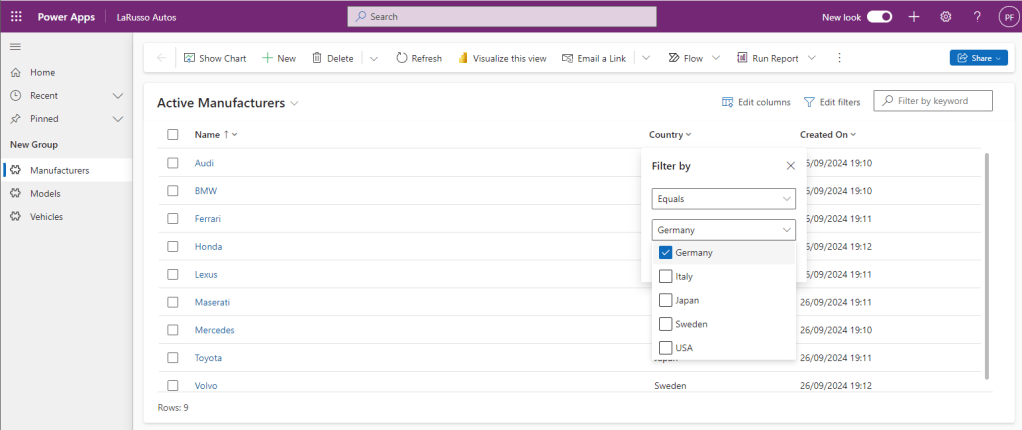
Whilst this is useful, it can become tedious to apply filters every single time we access the data we really want to work with. For that reason, it makes sense to have multiple views, each with different filters applied by default.
For this exercise, we want to create two separate views for our Vehicles table:
- Sale Vehicles – Vehicles for sale
- Sold Vehicles – Vehicles that have been sold
To start, we need to add a new column to the Vehicle table – Sale Date. This is an optional Date and time field – vehicles that have been sold will have a sale date; those that have not been sold won’t. From our solution view, select Tables > Vehicle > Columns from the side navigation. Click on + New column from the top ribbon, and fill in the New column form.

Click Save, then choose Tables > Vehicle > Forms from the side navigation. From the forms displayed, select the Main form to launch the form editor. Drag and drop the Sale Date property onto the form and then click Save and publish.


Leave a comment