
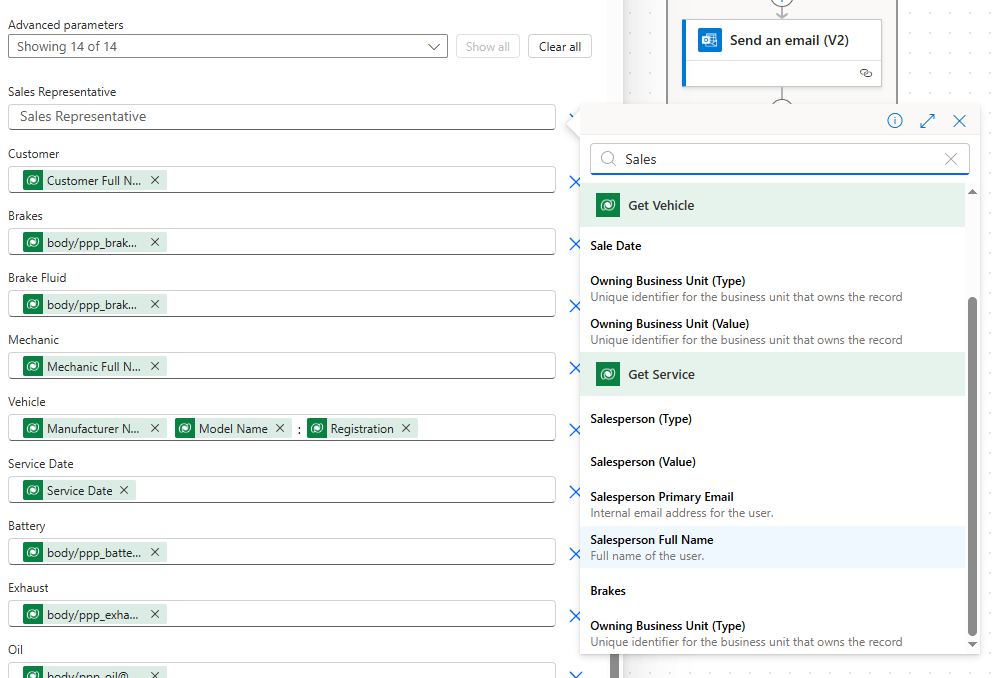
Once we have specified the File, all the variable values of the file become available as Advanced parameters, click that dropdown and select all values. Notice that when we add in the Sales Representative parameter, Salesperson Full Name is now available for select thanks to our Expand Query column (and so is Salesperson Primary Email).
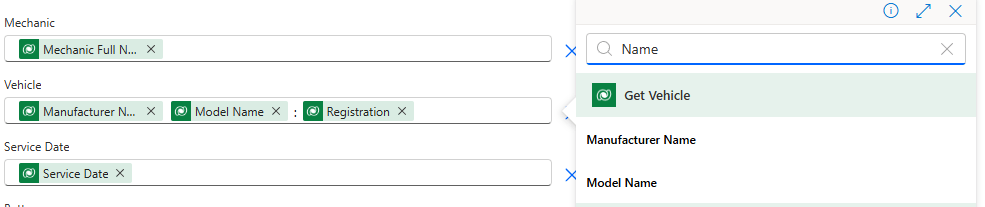
This is also true for Mechanic Full Name:

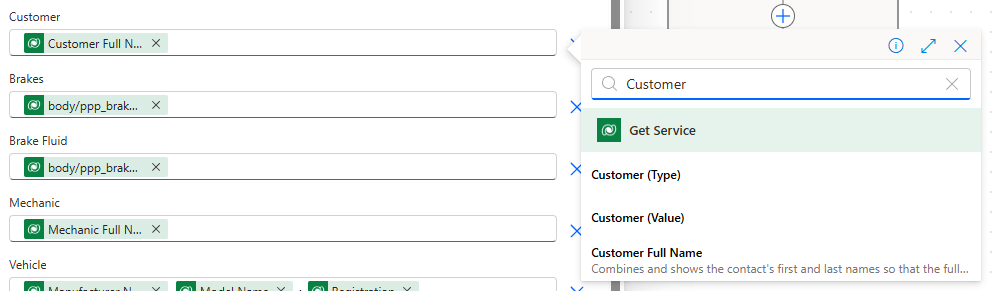
And Customer Full Name:
And the Expand Query field on our Get Vehicle Action gives us access to Manufacturer Name and Model Name, which we can combine together in our template as Manufacturer Name followed by Model Name followed by Vehicle Registration.
Update the template by adding in Service Details and Service Date.
Individual test items such as Brakes, Oil, Tyres…etc require one more trick. If we reference them directly as follows:
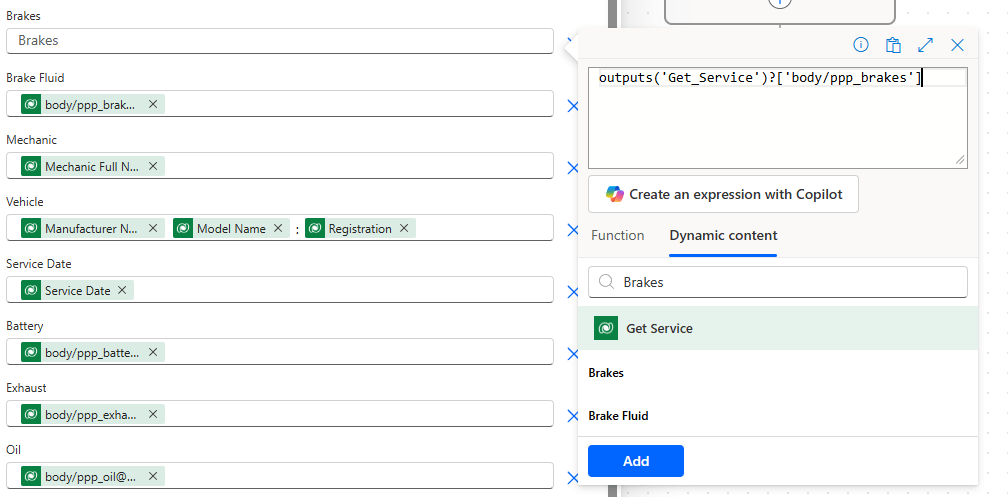
Then our template will output the numeric value of the Choice, rather than the label (yes, that is annoying). The simplest fix I have found for this is to append the following to the parameter:
@OData.Community.Display.V1.FormattedValue
For example:
outputs('Get_Service')?['body/ppp_brakes']
becomes
outputs('Get_Service')?['body/ppp_brakes@OData.Community.Display.V1.FormattedValue']
Repeat for all test items.

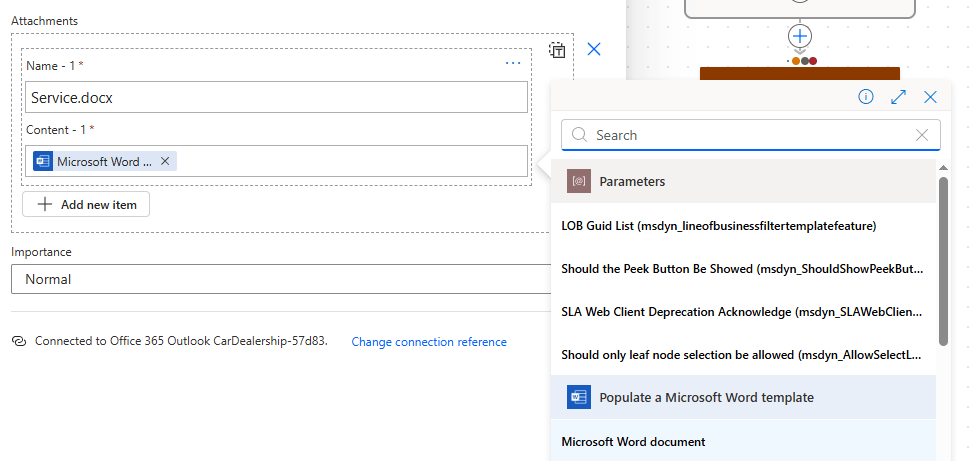
With our document generated, we now wish to email it to the salesperson. Complete the Send an email (V2) Action as follows:
- To – Salesperson Primary Email (from Get Service Expand Query)
- Subject – Service Complete: Registration (from Get Vehicle)
- Body – Generic text that the service has been completed.
- Advanced parameters – select Attachments.

Within Attachments, click + Add new item:
- Name – Service.docx (or any dynamic name you prefer).
- Content – Microsoft Word document
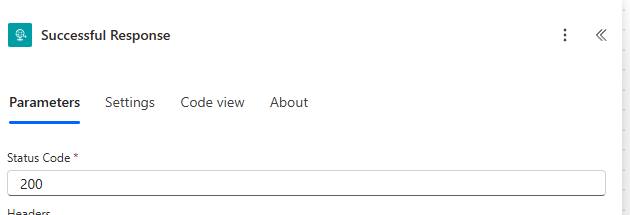
As before, update our Successful Response with 200
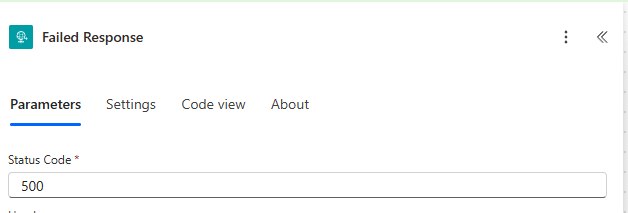
And Failed Response with 500
Save and Publish our flow, and then add it to our Solution.

Leave a comment