
In our last post we created a test API using Mockaroo and then integrated it into our LaRusso Autos solution with a scheduled Power Automate flow that sends a weekly email based on the output from our API (see more on scheduled flows in this post).
To access our API endpoint, we used the HTTP connector which required us to know a little about how the endpoint URL is formatted – parameter names and such – as well as explicitly adding the API key into our call.
Compare this with how we would use a typical Power Automate connector, such as Outlook:
- The available triggers and actions are made clear to the flow maker.
- Once selected, the user signs in using their account (i.e. authentication is handled) and those details are:
- no longer requested again
- securely encrypted in your solution
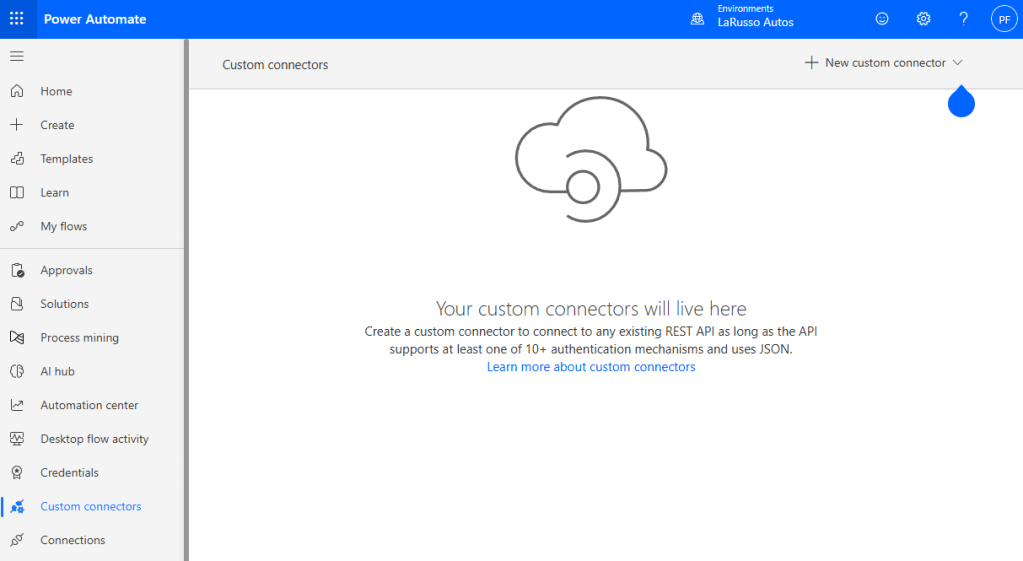
This is the standard we would like to attain for our custom APIs, and that’s what custom connectors are for! We begin in Power Automate by selecting Custom connectors from the side navigation, and + New custom connector > Create from blank from the top ribbon.
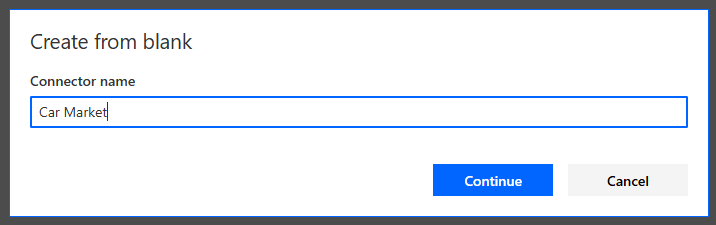
In the dialog that appears, give our custom connector a name. I’ve called mine Car Market.
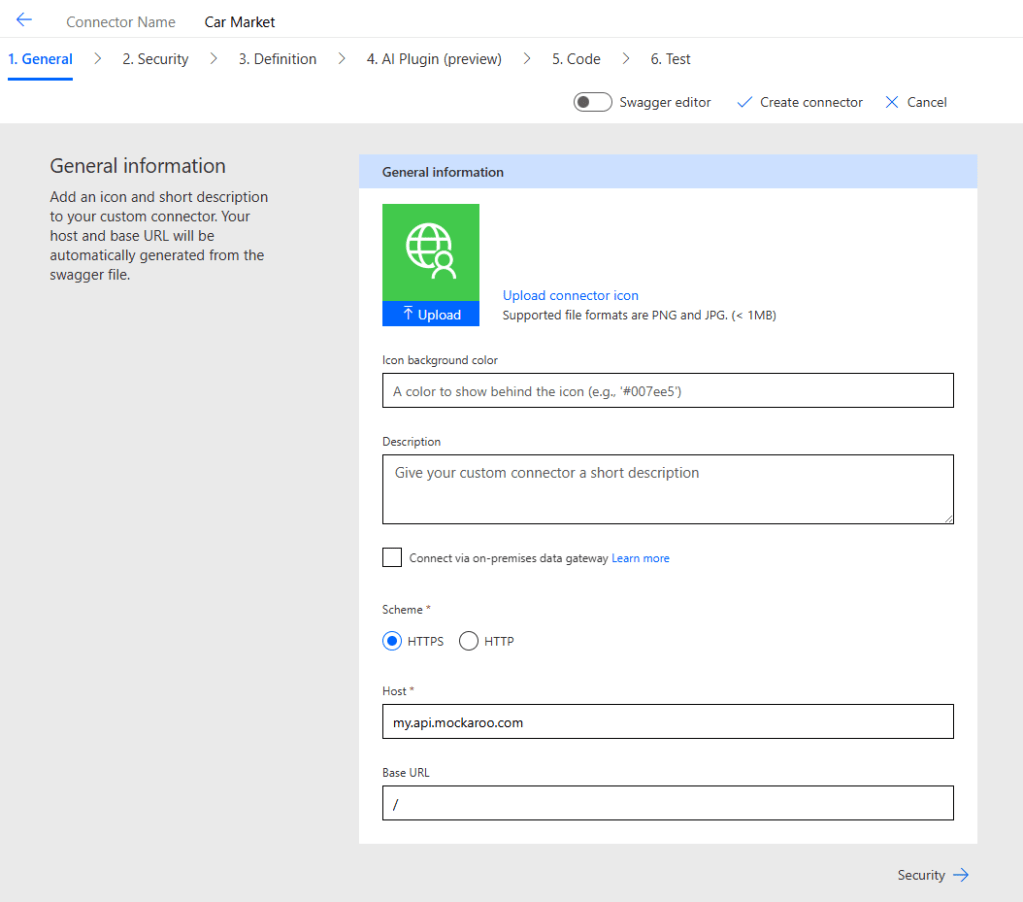
Next we have to fill in some General information about our new connector. We can specify the icon we want to use and give a description if we like. The two required parameters I have as follows:
- Scheme – HTTPS i.e. our API endpoint is at a https address, not http.
- Host – my.api.mockaroo.com – this is the base URL of all of our API endpoints. Note that we do not include the leading https.
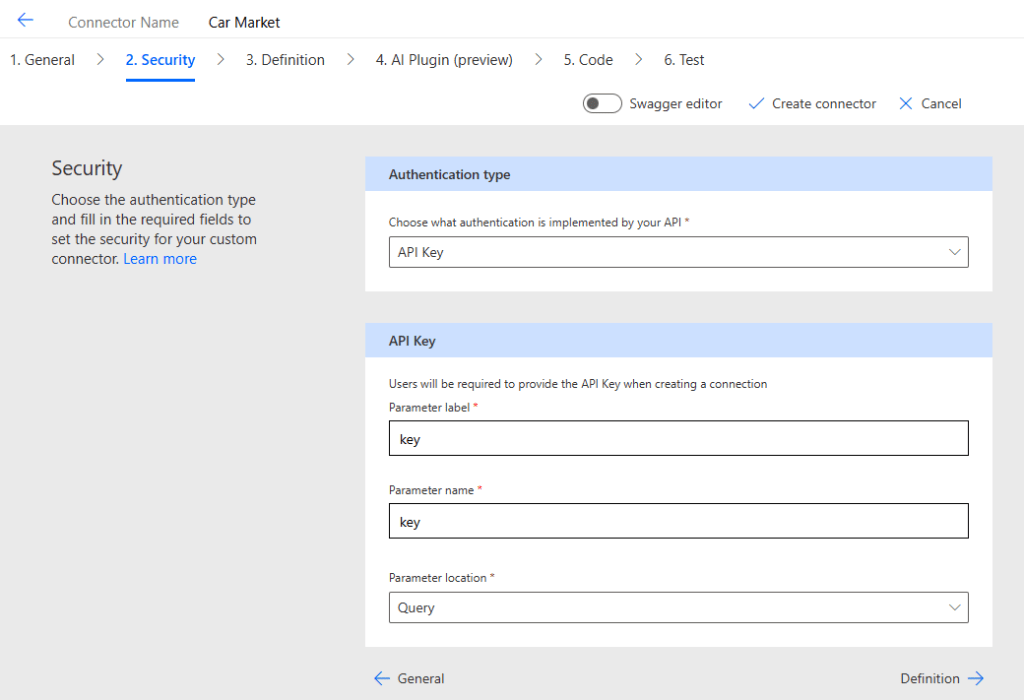
Click the Security link to progress to that section. We complete as follows:
- Choose what authentication… – API Key. Other options are available, but the API key we have created used key authentication.
- API Key
- Parameter label – key – this is a label that appears on the authentication dialog when a flow maker creates a new instance of our connector.
- Parameter name – key – this is the variable name that is passed with each API request.
- Parameter location – Query – we will pass the API key value in the URL of every request we make to our API (i.e. in the querystring).
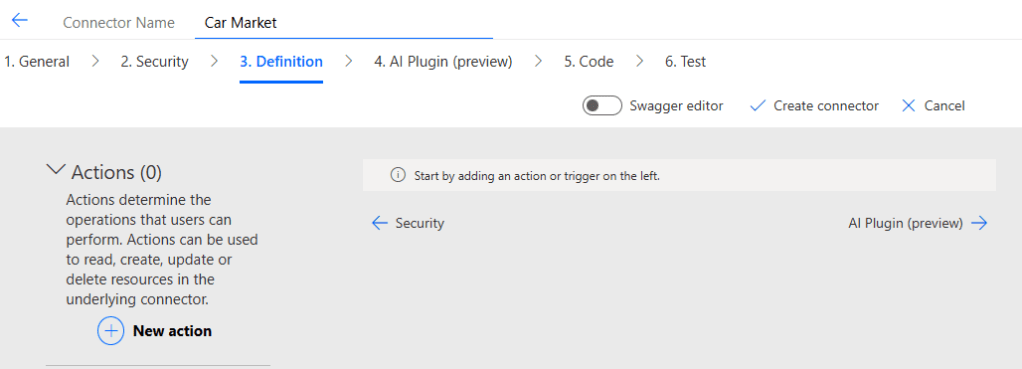
Click Definition to proceed.
The Definiton screen is where we outline the API endponts we are making available through our custom connector, namely:
- Get all market vehicles
- Get all vehicles for a specified manufacturer
Click on + New action to add our first endpoint.
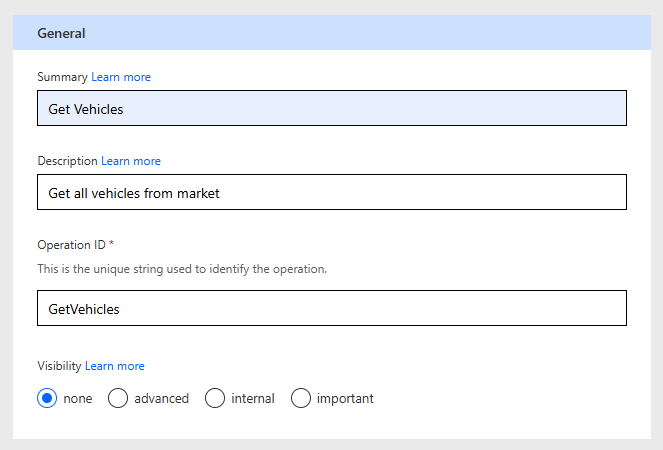
Complete the General section:
- Summary – Get Vehicles – this appears as an action name in our custom connector.
- Description – Get all vehicles from market – a short description of what our action does.
- Operation ID – GetVehicles – A unique ID for the action.
- Visibility – None
Next, we need to specify what a request to our first API endpoint looks like. Click on the Import from sample link and complete as follows and click Import:
- Verb – GET
- URL – https://my.api.mockaroo.com/market_vehicles/
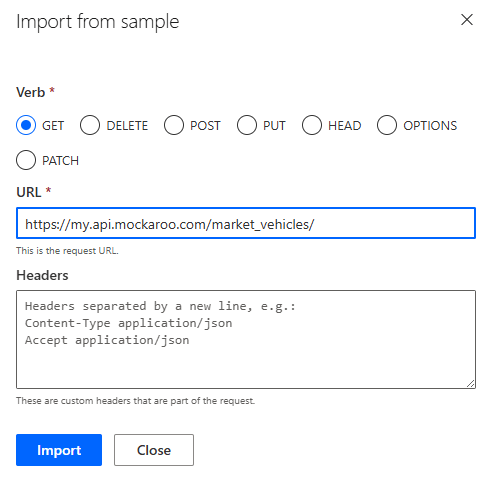
This will update our Request section as follows:

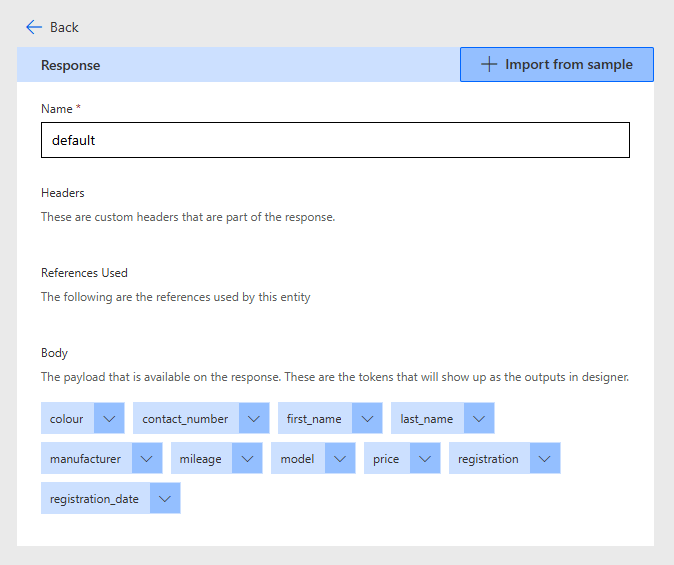
Next we need to specify what a typical response from our API endpoint look like. By specifying the response format, developers using our new custom connector do not have to use the Parse JSON response as we did in the previous post; Power Automate will automatically make these parameters available in subsequent flow actions.
Click the Import from sample link. In another browser tab, go to our API endpoint and copy and paste the response into the Body section as shown below.
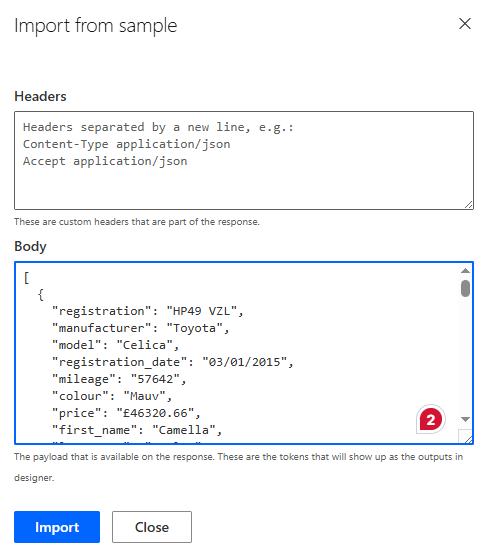
As you can see, all output properties are now shown in the default response. We’ve completed the first action of our custom connector!

Leave a reply to Creating Custom Pages for Model-driven Apps – Power Platform Pete Cancel reply