
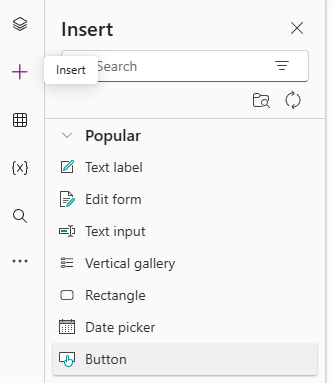
So now we can edit a selected record, but we need a mechanism to persist any changes we have made – i.e. a save button. From the left, click the + icon and select Button.
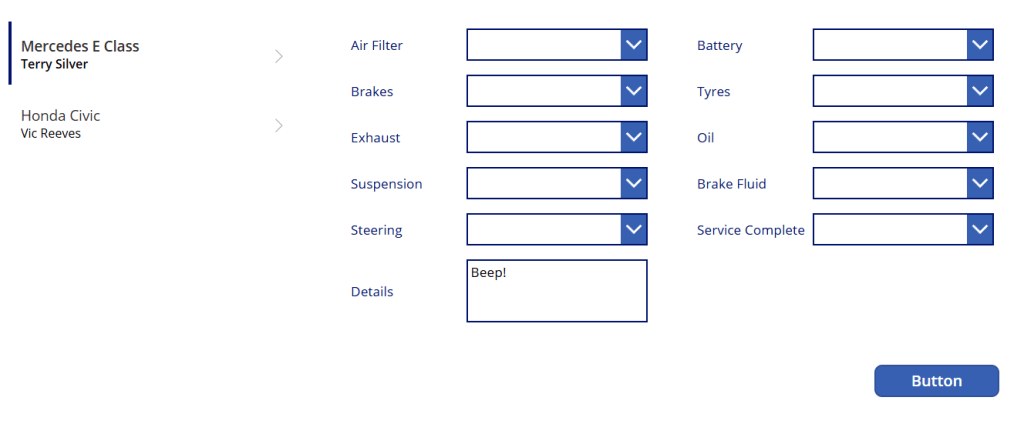
Drag the button to a suitable place on our canvas. Rename as btnSubmit.
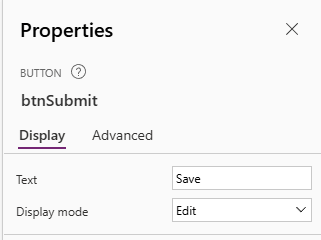
Select the button and view its properties on the right of the canvas. Change the Text property to Save.
Next, we have to define what happens when we click the Save button. Select our button, and set the OnSelect property in the formula bar to be as follows:
SubmitForm(frmInspection);
Refresh(Services);
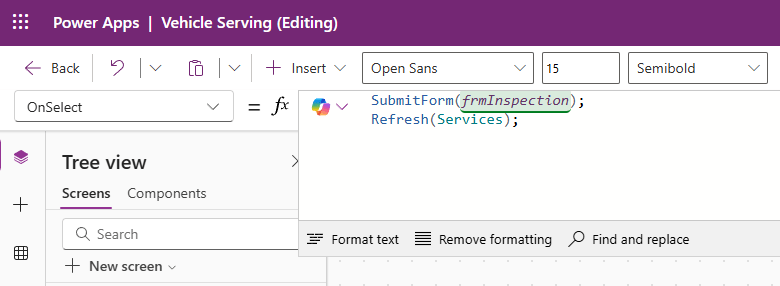
The first action will submit changes to the data source, and the second will refresh the dataset in use by the app. Click on the Publish button in the top right of our app to view it running:
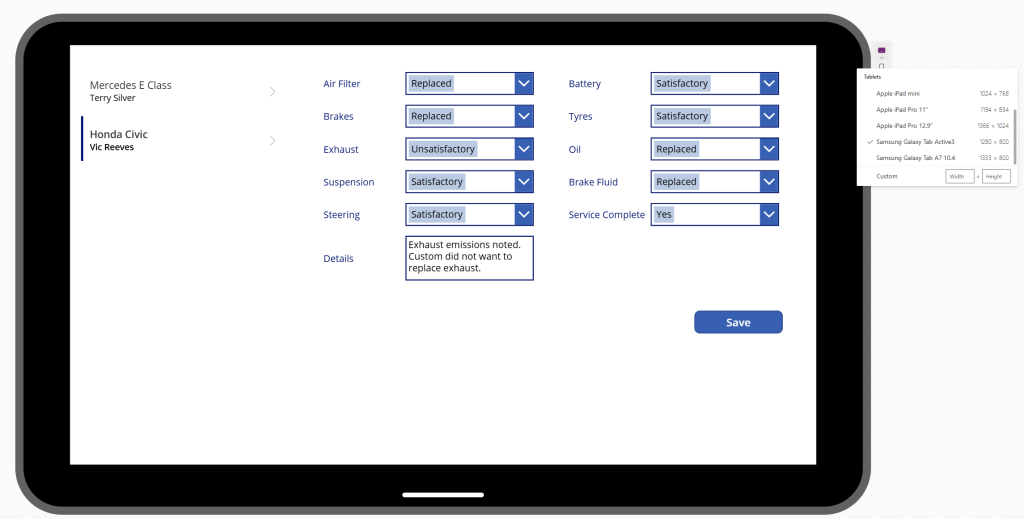
Again, we’ll worry about styling in another post as there’s a lot of improvements we can make here. Note the updates to our selected record. If we click the Save button, we can see the updates in Dataverse also.


Leave a comment