
The next element to add to our canvas app is a Form – this should display the details of the item selected in the Gallery. From the left side control bar, click the + icon and click on Edit form.

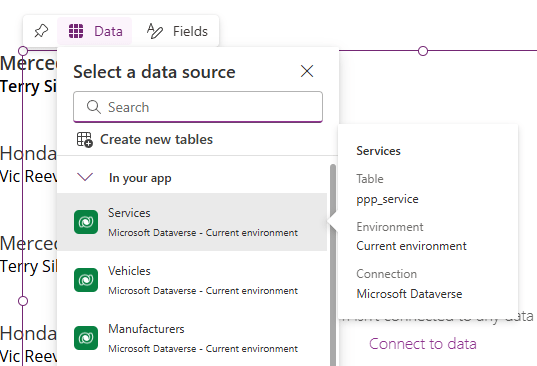
We are the asked to Select a data source for our Form – this is our Services table.
This will add an editable form to our canvas with a series of editable fields, and should look something like this (urgh).

As before, let’s rename our new Form element, and name it frmInspection. Now let’s tidy this up by:
- Selecting which fields we want to show.
- Changing the ordering of our fields.
- Changing the layout of the form.
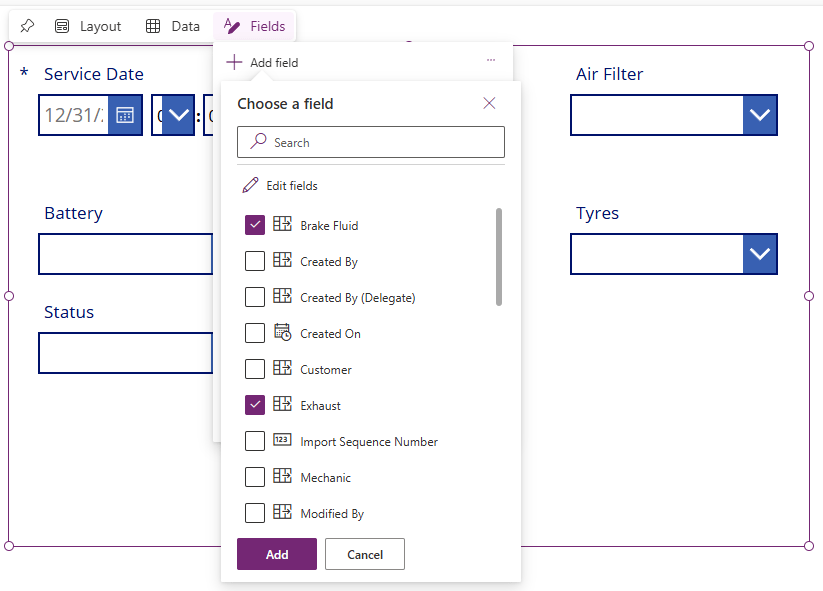
click on the Fields button, then + Add field to add in all our new vehicle inspection columns we created at the start of this post.
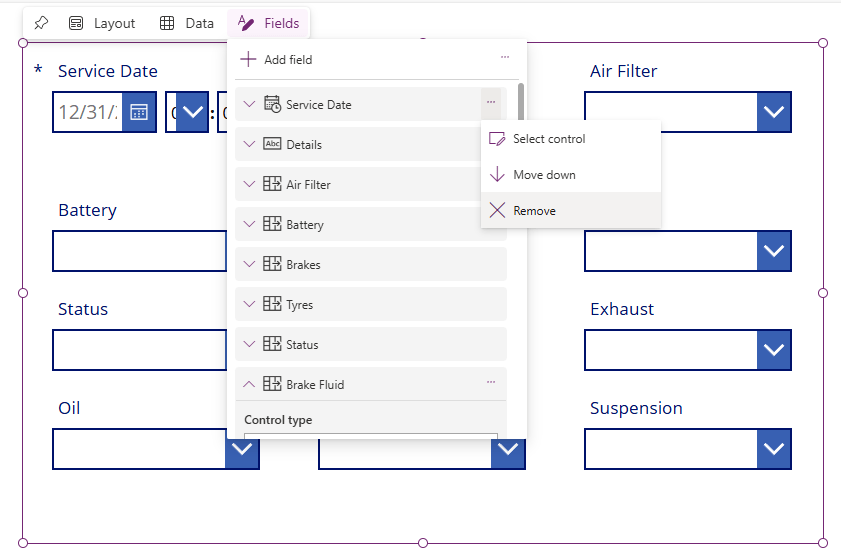
We’ll also right click and remove the fields we don’t want. Note that we can move selected items up and down the form using this control.
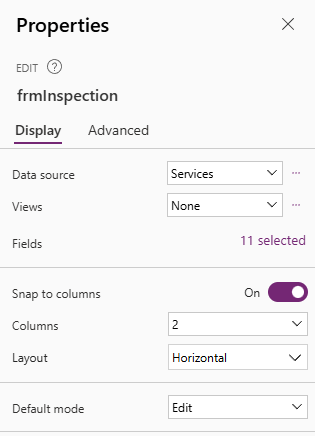
Next, with the Form selected, let’s update the properties in the rightmost bar. Set the following values:
- Columns – 2
- Layout – Horizontal
This will give us something like the following:

Much nicer. Next we update the following advanced property – we set Item to galServices.Selected. This will populate all of the Form fields with the values from the selected record in our Gallery.


Leave a comment