
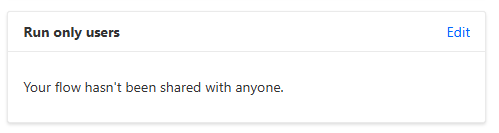
Final steps! We begin by updating the Run Only settings in our flow – click the Edit link on the following panel
For this flow, we have to set the Dataverse and Outlook connections to run as a specific user, rather than the User who triggered the flow.
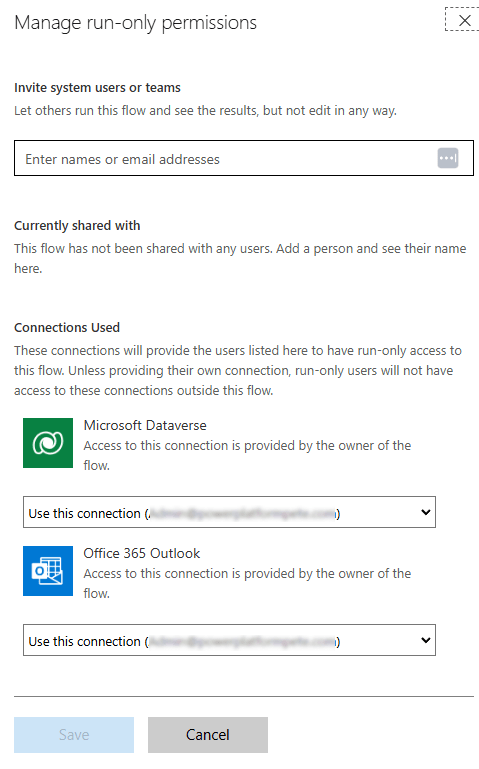
This has implications if you are creating records in Dataverse, as they will not be created by the User who triggered the flow. However, our flow is only fetching records.
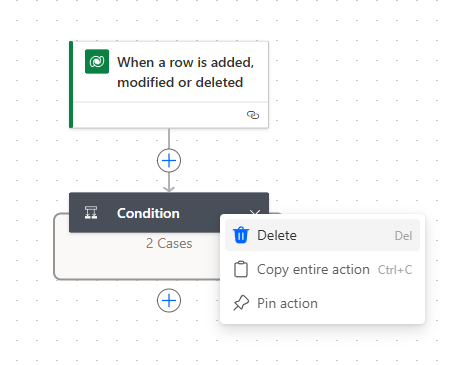
Next, we open up our existing Create Service Appointment flow, right click on the Condition container and select Delete.
In its place, we add the Run a Child Flow Action from the Flows connector.
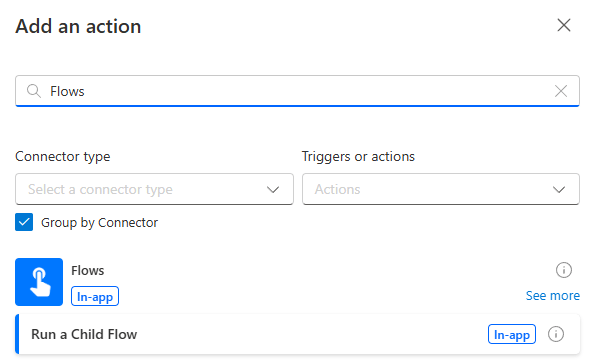
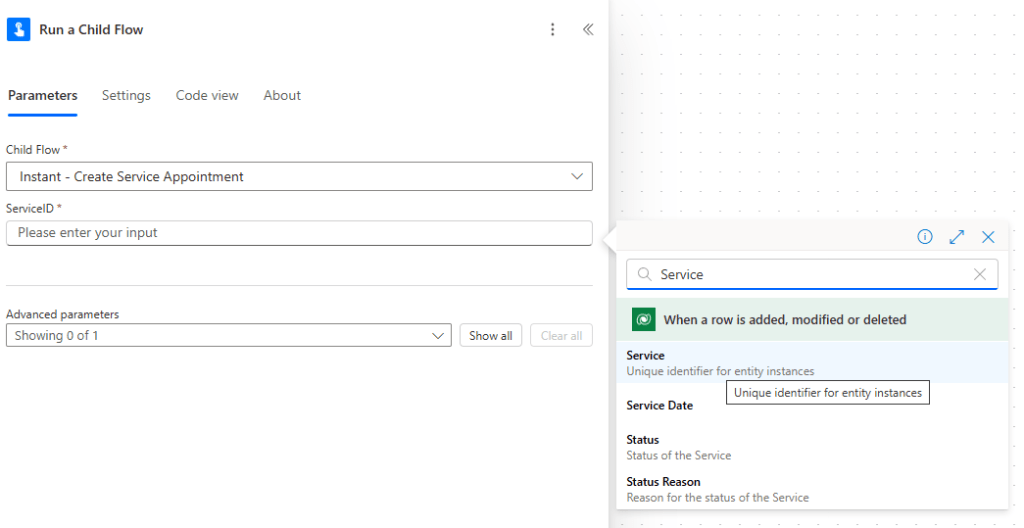
And we update the parameters as follows:
- Child Flow – Instant – Create Service Appointment
- ServiceID – Service from the When a row is added, modified or deleted Trigger.
Repeat the same steps for the Updated Service Appointment before adding all flows and components into our solution as outlined in the first post of this series.
And there we have it! If we want to change the main logic, we only have to do it in our child flow. We could even call this from other flows, perhaps those attached to canvas apps, but more on that in future posts.
Let’s recap what we’ve covered!
- Instant flows with parameters
- Creating and calling child flows
- Error handling using the Scope container

Leave a comment