
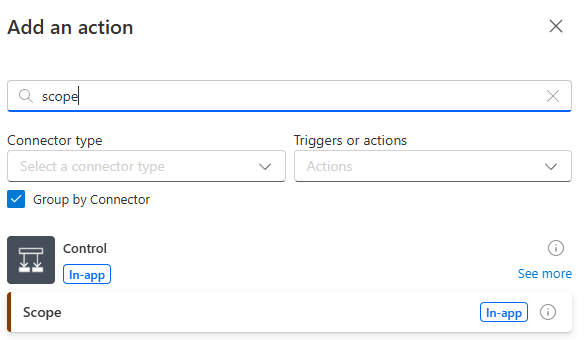
Click the + icon below our Manually trigger a flow Trigger and add in the Scope Action from the Control connector.
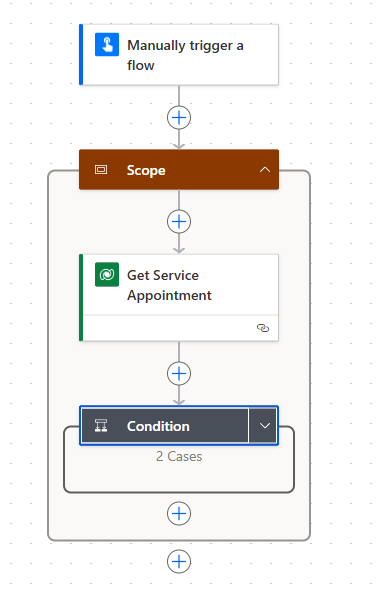
The Scope action is rendered as a container on the flow canvas. Drag and drop the Get Service Appointment into the Scope container.
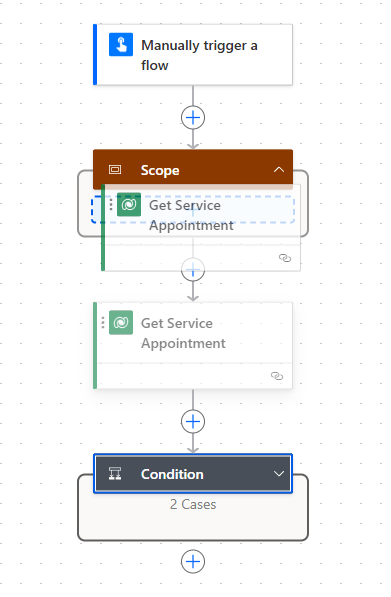
Then drag and drop the Condition container into the Scope container beneath the Get Service Appointment Action.
Click on the Scope and rename it as Try. Then add another Scope container beneath the Try container. Rename the new container as Catch. Click the Settings tab and set the following values:
- Run after Try
- Has timed out
- Is skipped
- Has failed
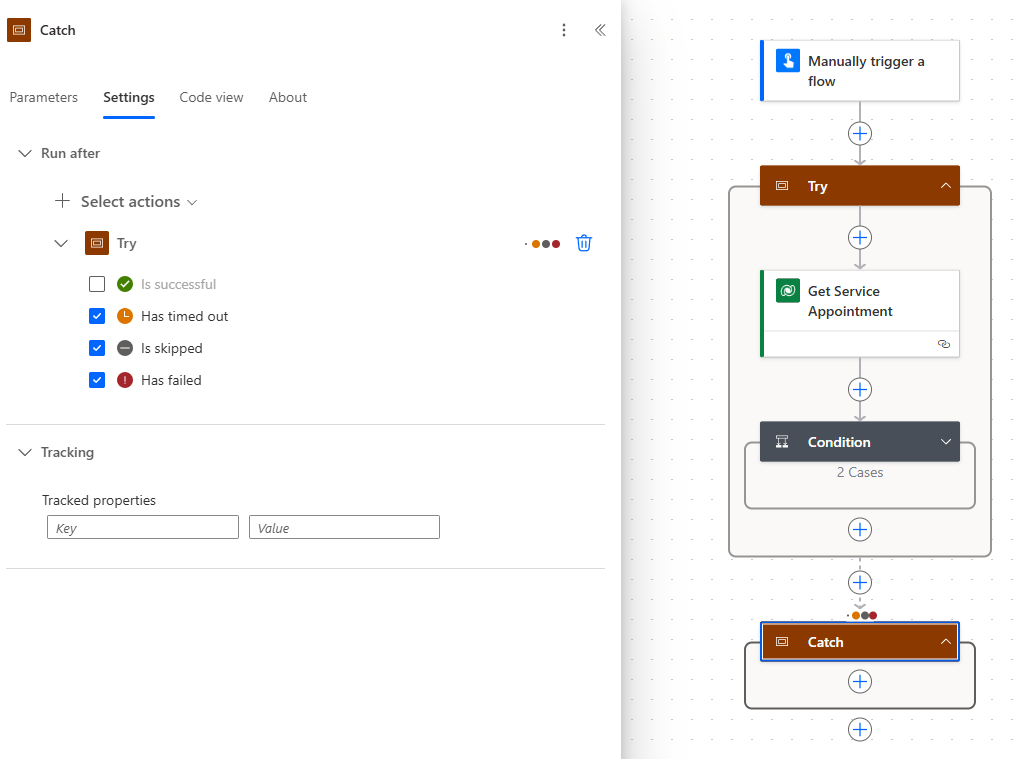
If an invalid ID parameter is passed in to the flow, then the Get Service Appointment Action will fail. Normally, this would break our flow, but the settings above mean that the flow run will skip out of the Try container and attempt to run whatever Actions we add to the Catch container.
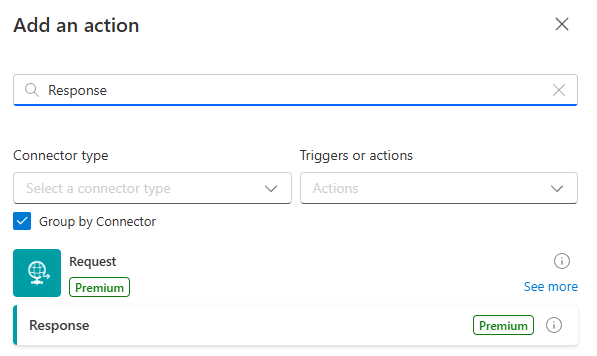
We intend to call our new flow from other flows, so we must return a response. Click the + icon at the bottom of our Try container and add in a Reponse Action from the Request connector.
Set the following parameters:
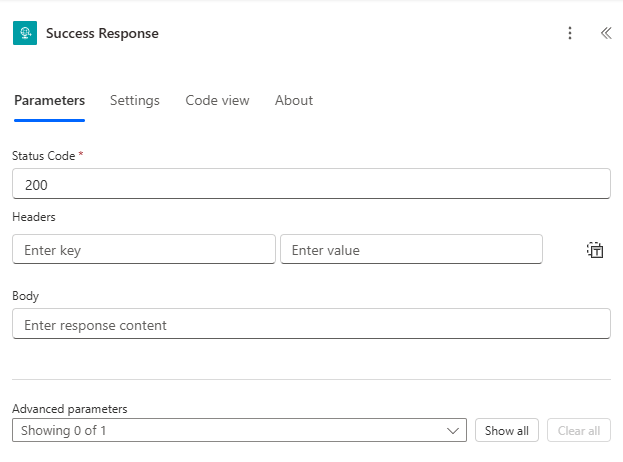
- Rename as Success Response
- Status Code – 200 (HTTP success)
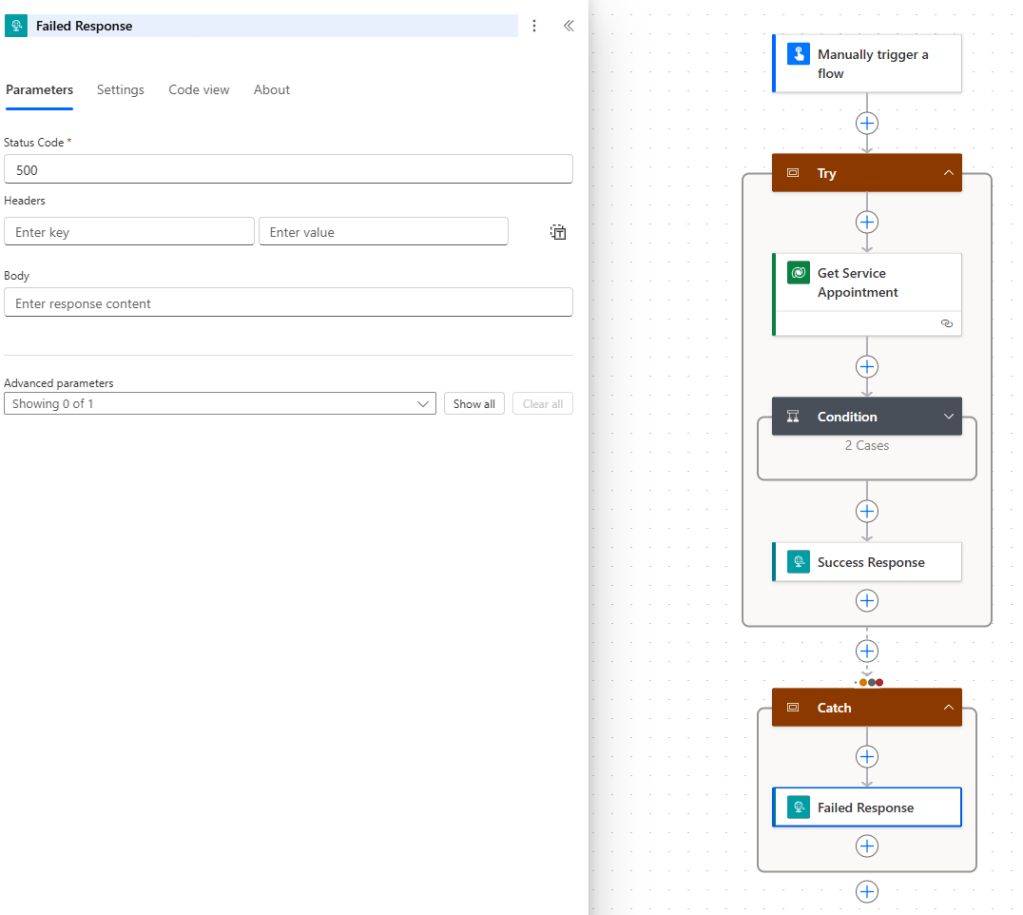
Click the + icon inside the Catch container and add another Reponse Action from the Request connector, completing the parameters as follows:
- Rename as Failed Response
- Status Code – 500 (HTTP server error)
After which, our completed flow looks like this:

Leave a comment