
Creating New Views
Click Back to return to the solution view. Choose Tables > Vehicle > Views from the side navigation. From the list of views shown, click Active Vehicles to load the view editor.
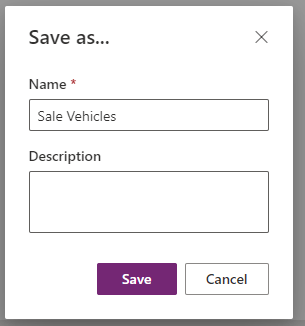
The first change we will make is to change the Name to Sale Vehicles.
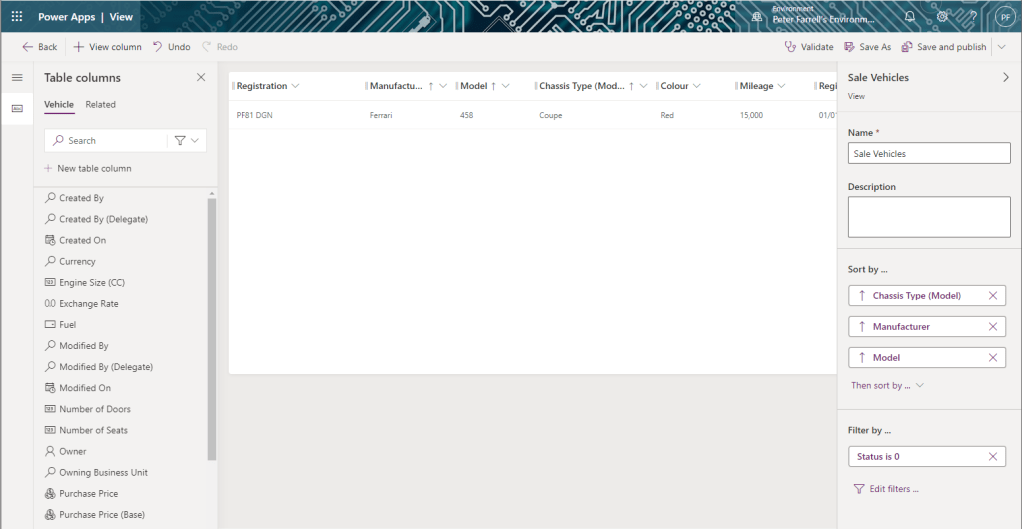
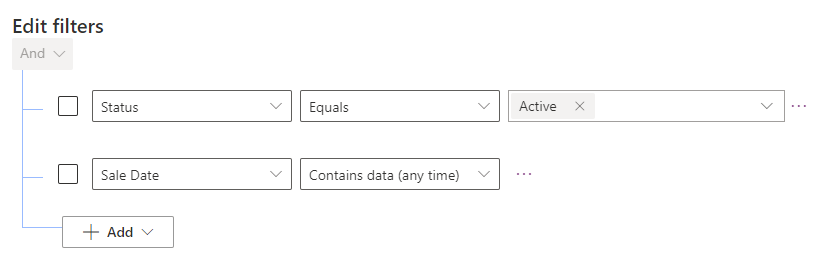
At the bottom right of the screen, click the Edit filters… link.
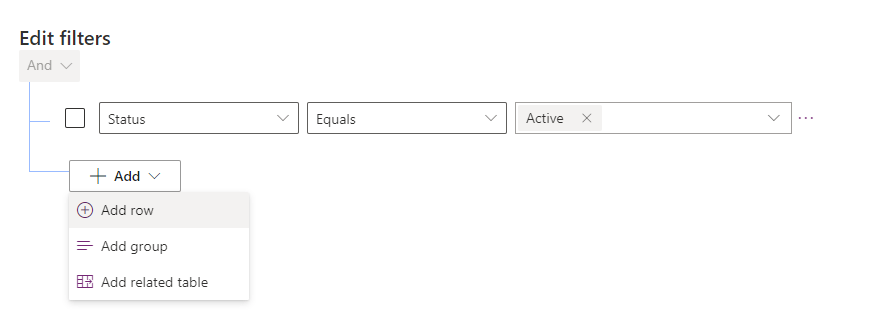
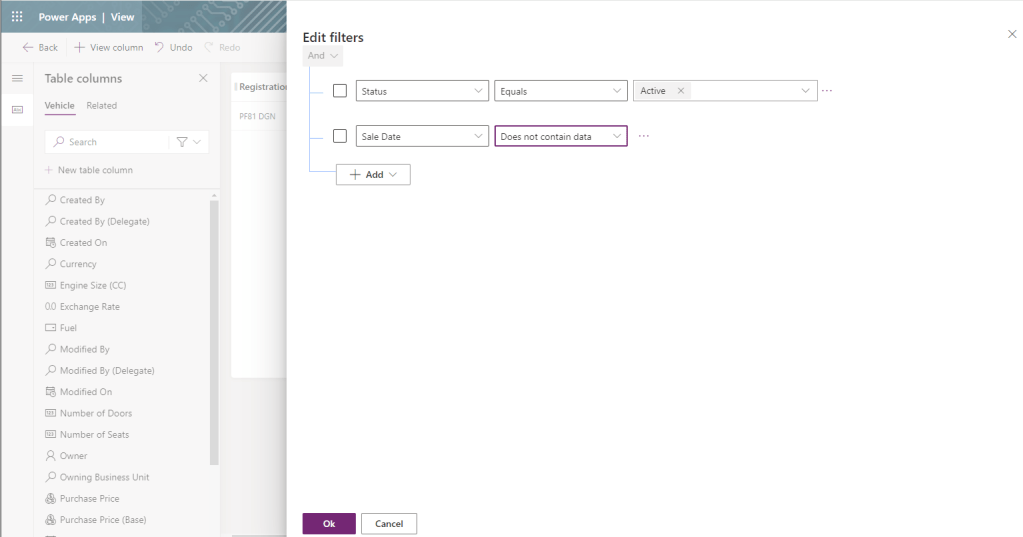
The only filter applied if that the Vehicle Status is Active. Click on + Add > + Add row. From there add the filter Sale Date Does not contain data – these are the unsold vehicles we are interested in. Click Ok.
Click Save As in the top ribbon to launch the Save As dialog. Click Save to create our new Sale Vehicles view.
Click Save and publish. Once saved, make the following changes:
- Change the Name to Sold Vehicles
- Drag the Sale Date column onto our view
- Edit the filters – Sale Date Contains data (any time)
Click Save As in the top ribbon to launch the Save As dialog. Click Save to create our new Sold Vehicles view. Then click Save and publish.

Leave a comment