
In this lesson we will cover:
- Creating and publishing our app
- Different types of pages available
- Adding new records to our app
- Out of the box paging, filtering and sorting
- Lookup fields and search options
- Related lookup controls
Finally! We have our defined our data model and the interfaces to interact with each table. Time to bring it all together in our first model-driven app.
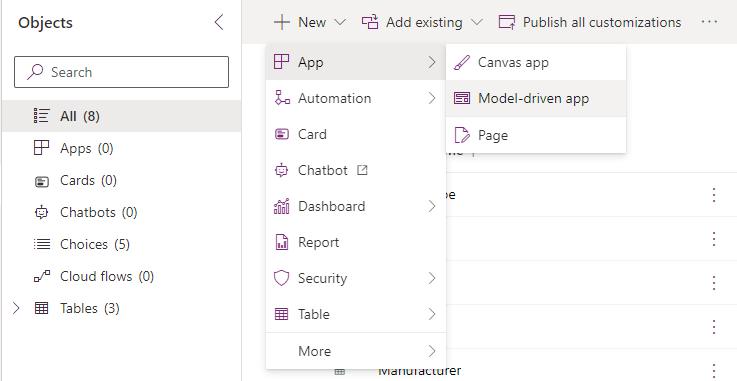
We begin from the solution view again. Select All from the side navigation, and from the top menu ribbon select + New > App > Model-driven app.
From the popup dialog that appears, give the app a name and click the Create button. I’ve called my app LaRusso Autos.
From the screen that appears, click the + Add page button. A dialog will appear with the following options:
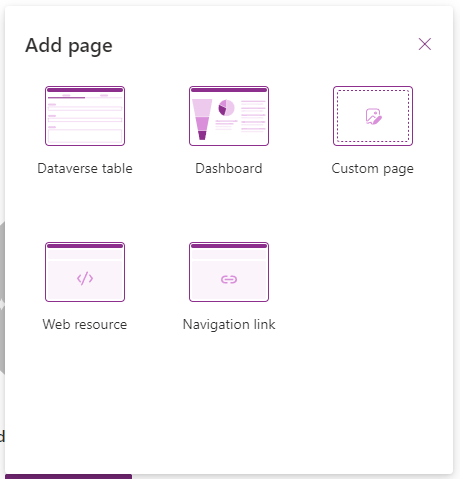
- Dataverse table – this will add view and form pages for a selected table.
- Dashboard – used to add a combination of views and charts.
- Custom page – used to add embedded Canvas apps.
- Web resource – used to embed a webpage in an iFrame.
- Navigation link – used to link off to another website.
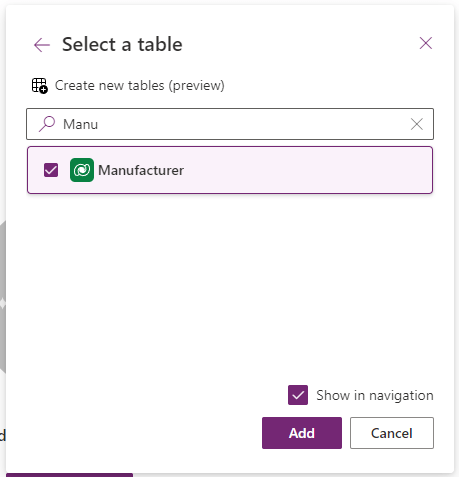
Today we will be clicking the Dataverse table option. From the dialog that appears, add our three tables – Manufacturer, Model, Vehicle – ensuring that the Show in navigation checkbox is selected.
If all is successful, the model-driven app editor is displayed thus:
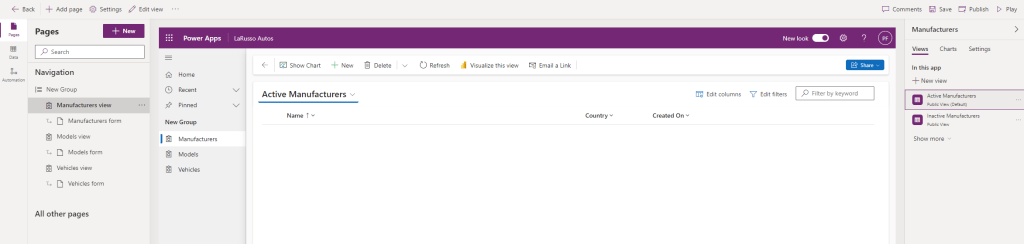
Click Save, then click Publish, then Play. Congratulations! You’ve just published your first model-driven app.

Leave a comment