The Model Table
From our solution view, expand Tables -> Model and click on Forms. From our list of forms, we are again interested in the form where Form type is Main.
From the left hand menu, we can see that Manufacturer is one of the options available to us. Dataverse automatically added this column to the Model table when we created the Many-to-one relationship between Manufacturer and Model. Let’s drag and drop it into our form above our Name field:
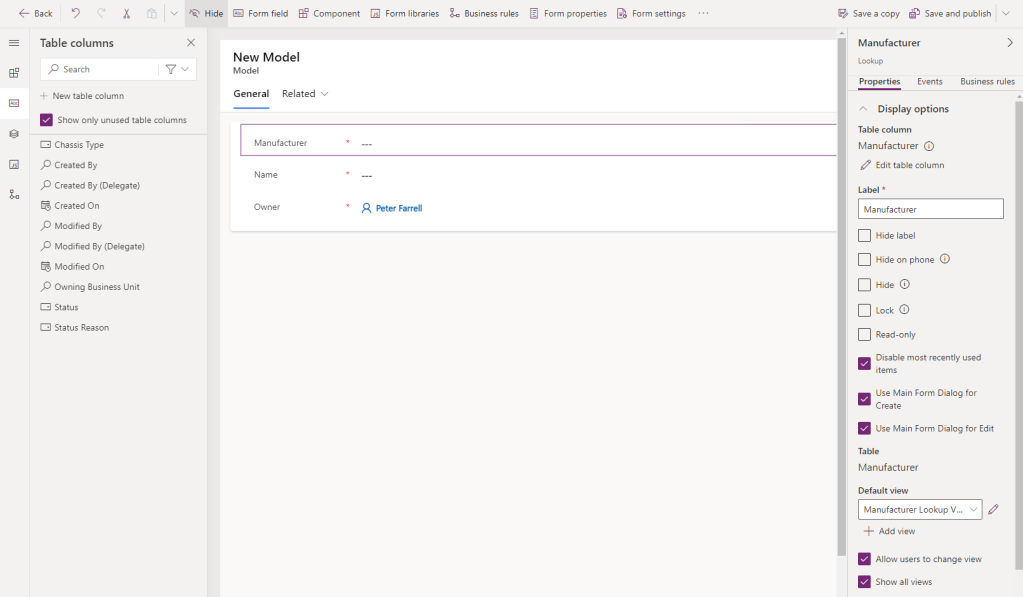
The Manufacturer field is a Lookup field. When entering a value in this field, the user will select from entries in our Manufacturer table. There are several interesting options on the right hand side that we want to select they are unchecked by default)
- Disable most recently used items – if left unchecked, the user is prompted with previously selected values before. Personally, I find this a hindrance.
- Use Main Form Dialog for Create – the lookup field will give the app user the option to Add a new Manufacturer record if the one they are looking for cannot be found. If left unchecked, users are redirected to the Manufacturer Form screen. Checking this field will launch the same form in a modal popup.
- Use Main Form Dialog for Edit – similar to the above, if the user has entered a value for this screen and then clicks on that value, they can edit the Manufacturer record. If left unchecked, users are redirected to the Manufacturer Form screen. Checking this field will launch the same form in a modal popup.
Also if interest is the Default view field, currently set to Manufacturer Lookup View. When entering a value for this field, this is the view that defines how the list of records is presented. Click on the pencil icon beside the dropdown to open the Manufacturer Lookup View in a new tab:
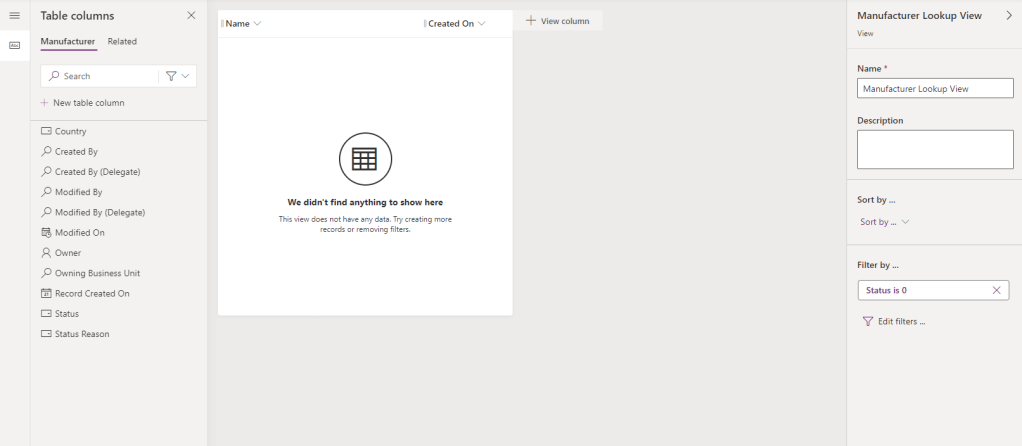
Let’s do a few things here:
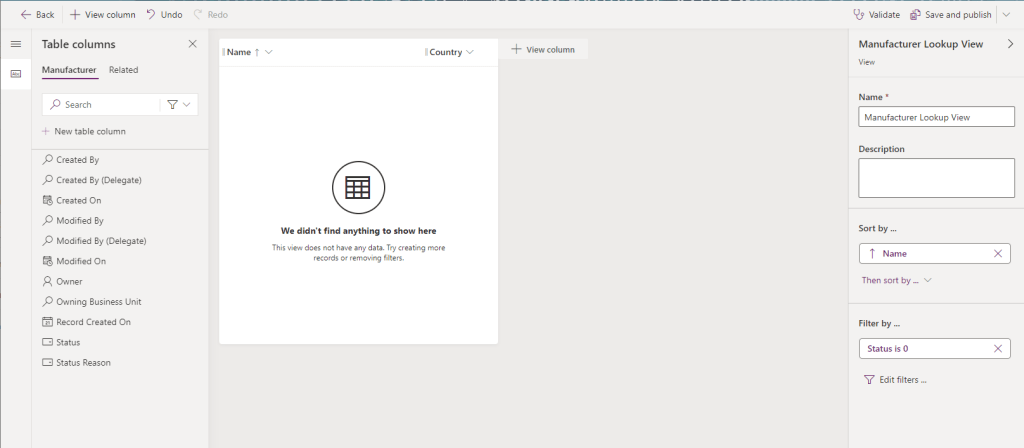
- Drag the Country field onto the view after the Name field.
- Right-click on the Created On header and select Remove.
- Right-click on the Name column and select Sort A to Z.
This will give us the following:
Again, click the Save and publish button at the top right of the screen. On successful save, close the browser tab to return to the Model Form.
On the Model Form, let’s drag the Chassis Type after the Name field. Chassis Type is of type Choice and is rendered as a dropdown field, whereas Manufacturer is a Lookup field making use of Forms and Views.
If you need to store multiple properties about a related entity (such as Name and Country), that entity should be a Table and the appropriate relationships between tables should be set up. If you only need to store the name of the related entity, then the entity should be a Choice list.
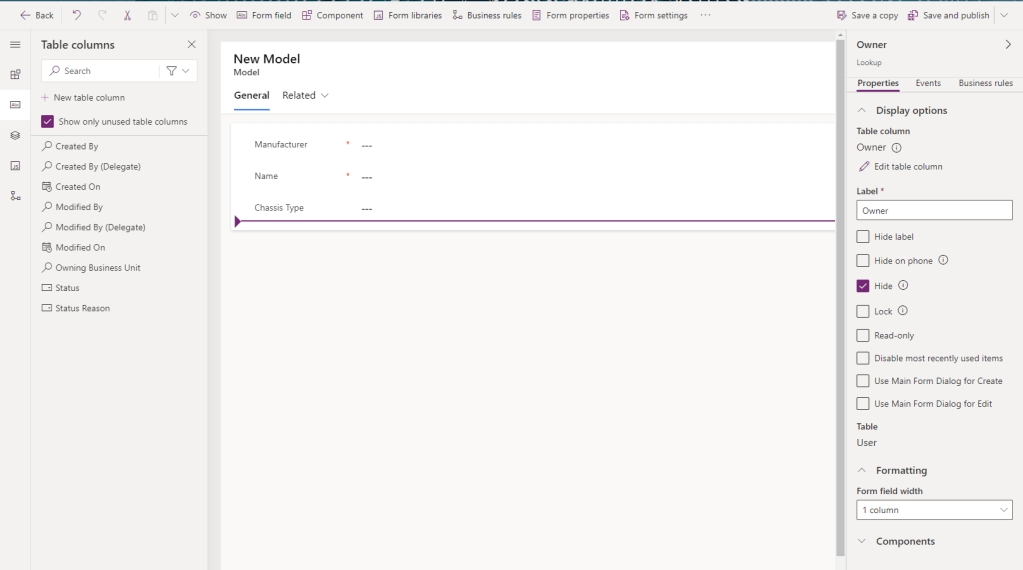
As before, let’s select the Owner field and click the Hide button on the header to leave us with the following form:
Click the Save and publish button as before, then the Back button to return to our solution view.
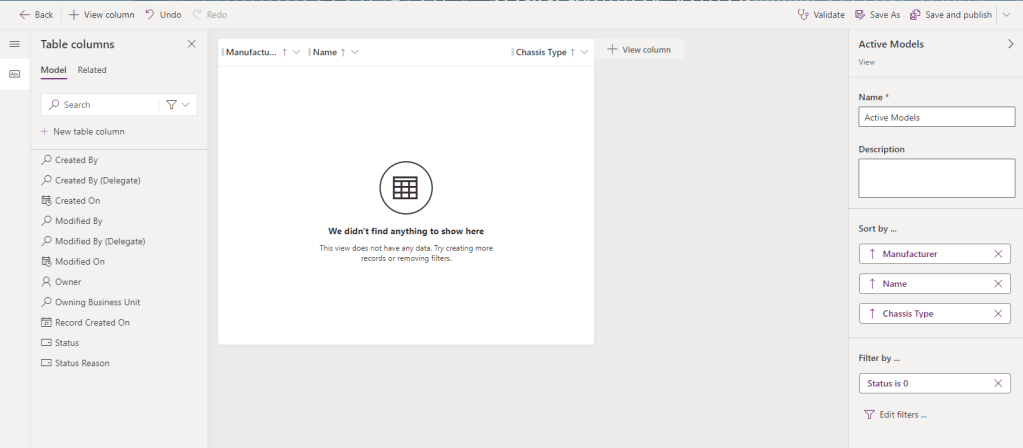
From our solution view, expand Tables -> Model and click on Views. Select the Active Models view and do the following:
- Drag the Manufacturer field before Name
- Drag the Chassis Type field after Name
- Right-click on Created On and select Remove
- Right click on the Manufacturer header and select Sort ascending
- Under Sort by… on the right of the screen, click on Then sort by… and select Name
- Under Sort by… on the right of the screen, click on Then sort by… and select Chassis Type
If you’ve done all of the above correctly, it should look like this
Click on the Save and publish button as before. On save, click on the Back button to return to the solution view.
That’s us done with Model Forms and Views. Now let’s look at the Vehicle table.

Leave a comment