
Building the Vehicle Table
Vehicle is our biggest table in our data model in terms of the number of columns, relationships and volume of data it will hold. That said, this is mostly rinse and repeat based on what we’ve learned so far. Let’s go!
Again, let’s select Tables from our solution view side navigation. Click + New -> Table -> Table as before to display the New table dialog, and enter the following values before clicking Save:
- Properties tab
- Display name – Vehicle
- Plural name – Vehicles
- Primary column tab
- Display name – Registration (change this from the default value of Name)
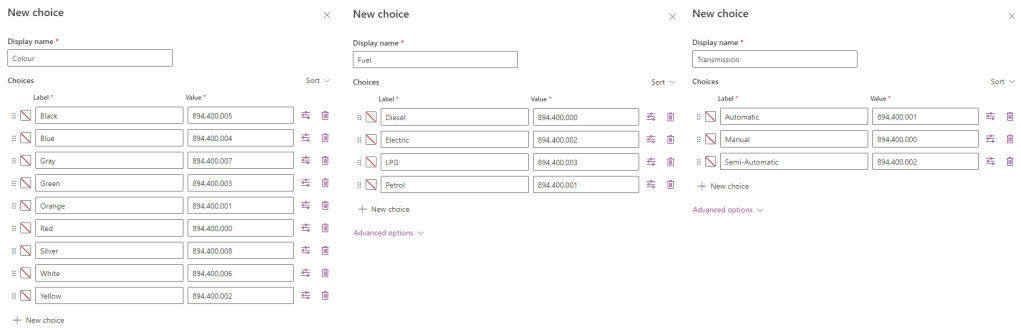
As before, lets create several Choice columns:
- Colour – Red, Orange, Yellow, Green, Blue, Black, White, Gray, Silver
- Fuel – Diesel, Petrol, Electric, LPG
- Transmission – Manual, Automatic, Semi-Automatic
Be sure to use the + New choice dialog to create each list of choices, and set the Sync this choice with dropdown value for each column accordingly.
Now let’s add the remaining columns. From the side navigation, expand Tables -> Vehicle and select Columns to display our list of columns. Click + New column on the top navigation to add each of the following columns:
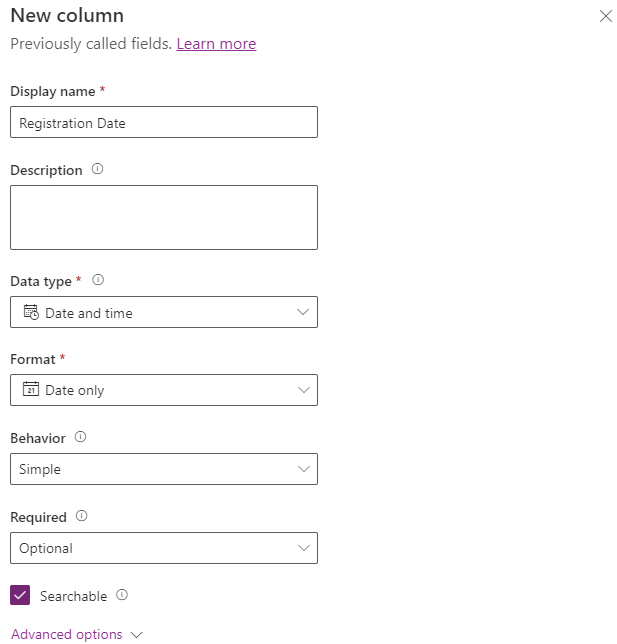
- Registration Date
- Display name – Registration Date
- Data type – Date and time
- Format – Date only
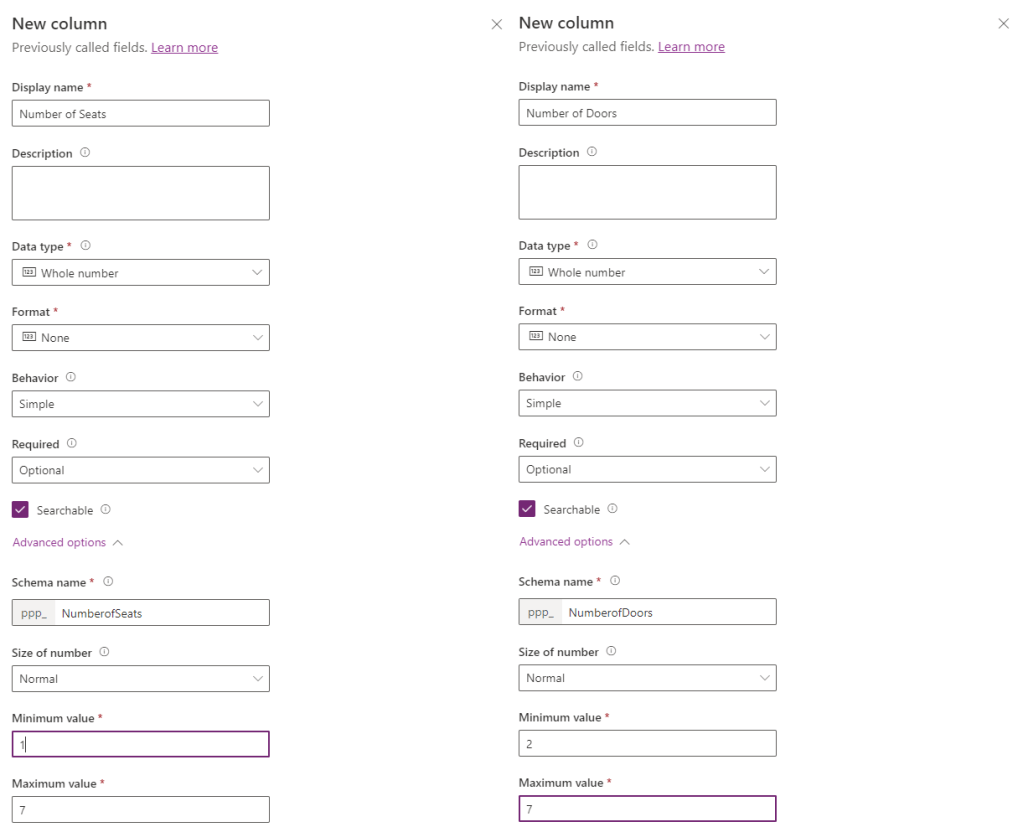
- Number of Seats
- Display name – Number of Seats
- Data type – Number -> Whole number
- Advanced Options
- Minimum value – 1
- Maximum value – 7
- Number of Doors
- Display name – Number of Doors
- Data type – Number -> Whole number
- Advanced Options
- Minimum value – 2
- Maximum value – 7
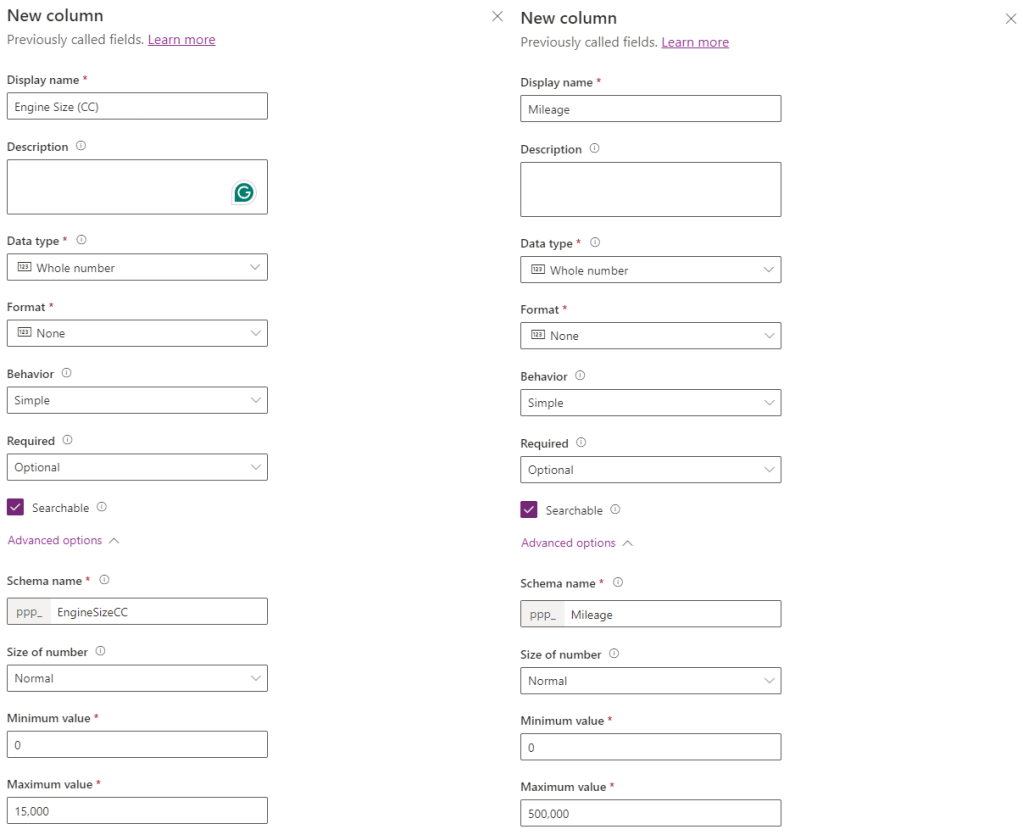
- Engine Size (CC)
- Display name – Engine Size (CC)
- Data type – Number -> Whole number
- Advanced Options
- Minimum value – 0
- Maximum value – 15,000
- Mileage
- Display name – Mileage
- Data type – Number -> Whole number
- Advanced Options
- Minimum value – 0
- Maximum value – 500,000
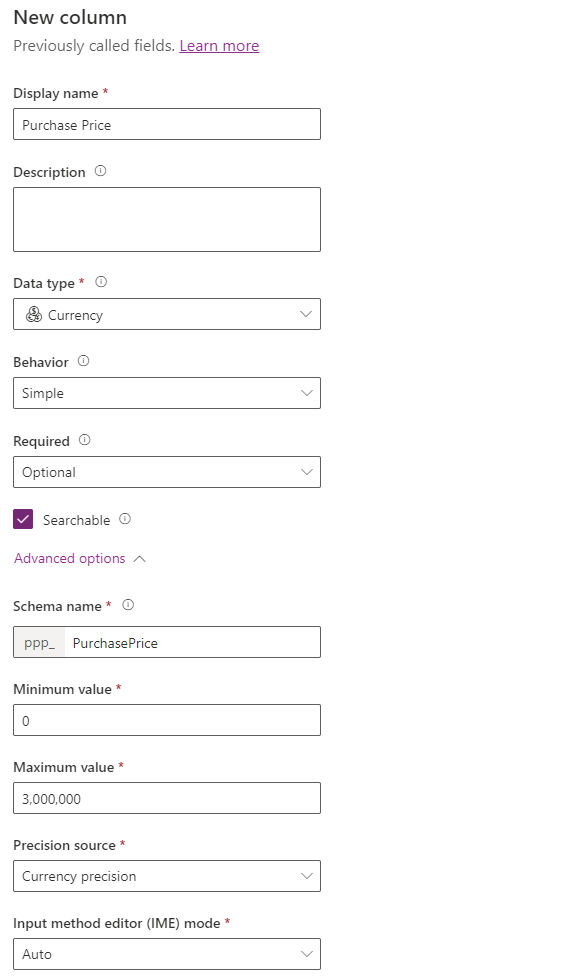
- Purchase Price
- Display name – Purchase Price
- Data type – Currency
- Advanced Options
- Minimum value – 0
- Maximum value – 3,000,000
Almost done. Now we add in our relationships. First we add the following relationship:
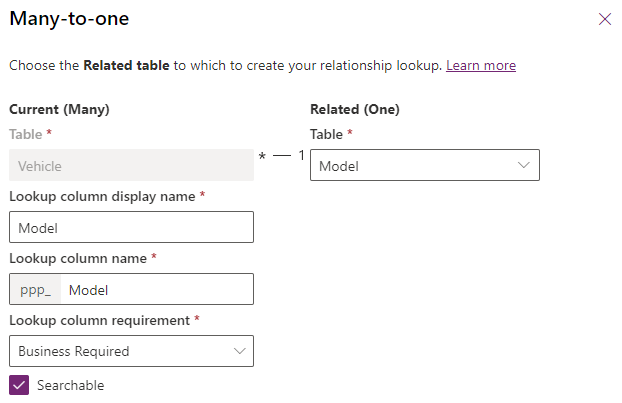
There are Many Vehicles for any One Model
This is true – we might have several BMW 5 Series available for sale, with different colour, transmission, cost…etc. Let’s expand Tables -> Vehicle from the side navigation, and select Relationships. Click + New relationship -> Many-to-one and fill in the side dialog as shown before clicking Done to save your changes:
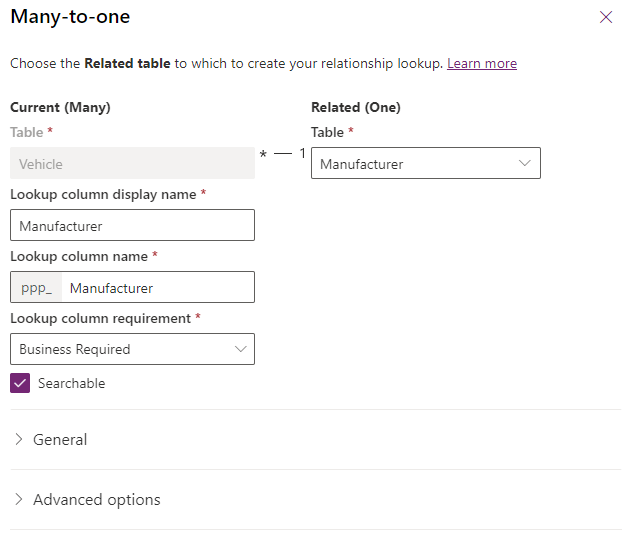
The purist in me says that this is the only relationship we need. We shouldn’t need to add a relationship between Vehicle and Manufacturer because there is already a relationship between Model and Manufacturer – that is, if I select the Vehicle Model as “5 Series” this automatically implies that the Manufacturer is BMW.
However, for reasons that will become apparent when we design the user interface, we should add in the Vehicle and Manufacturer relationship. Trust me for now:
And that completes our data model. In our next lesson, we’ll look at the user interface for each table we have created.

Leave a comment