
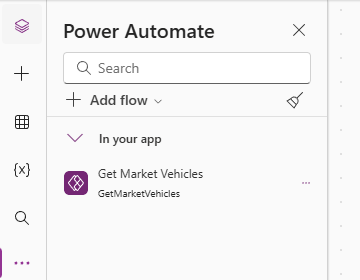
Return to our custom page and add a reference to our new flow.
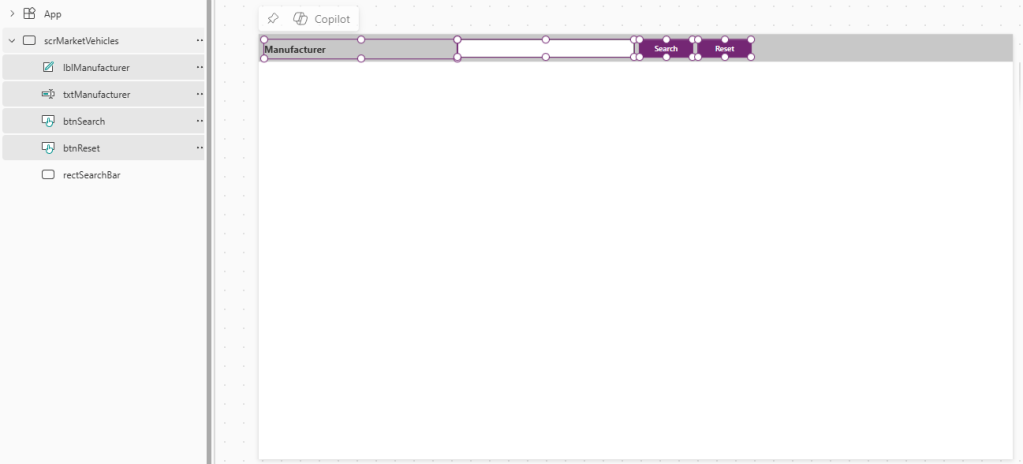
Let’s begin by adding some search controls at the top of our page. We add the following elements:
- Label – rename as lblManufacturer, set text to “Manufacturer”
- Text input – rename as txtManufacturer
- Button – rename as btnSearch, set text to “Search”
- Button – rename as btnReset, set text to “Reset”
- Rectangle – rename as rectSearchBar, set behind above controls.
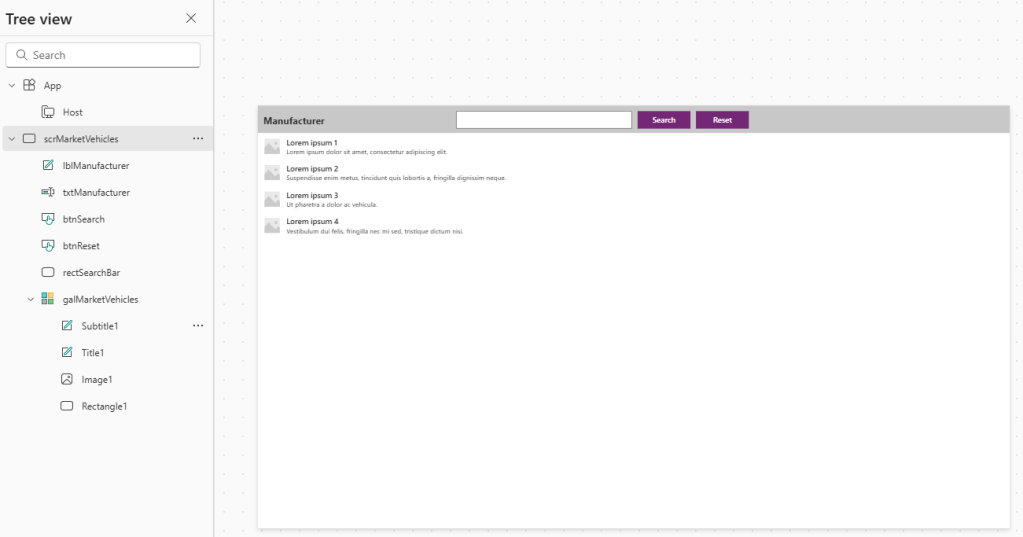
Custom pages do not allow the use of the Data table control, so we must add a Gallery instead. Stretch the gallery to fill the remaining width and height of our page.
Next, we want to populate the Gallery with our API data. Update the OnStart property of our app follows:
ClearCollect(MarketVehicles, GetMarketVehicles.Run(txtManufacturer.Value));

Then we set the Items property to our Gallery to the MarketVehicles collection we have created above:

This will update our Gallery to look something like the following:
There’s a few things we want to change here:
- We have no need for the image control as our API does not return images.
- We want to display more properties of our API response.
- We want to display these properties side by side, rather than on top of each other.
Firstly, let’s delete the image control. Next, let’s add multiple labels to our Gallery rows:
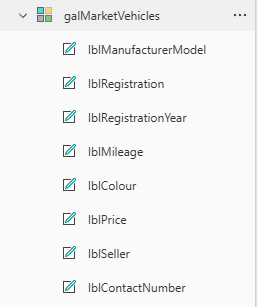
Set the Text property of our labels as follows
- lblManufacturerModel – ThisItem.manufacturer & ” ” & ThisItem.model
- lblRegistration – ThisItem.registration
- lblRegistrationYear – Year(DateTimeValue(ThisItem.registration_date,”en-GB”))
- lblMileage – ThisItem.mileage
- lblColour – ThisItem.colour
- lblPrice – ThisItem.price
- lblSeller – ThisItem.first_name & ” ” & ThisItem.last_name
- lblContactNumber – ThisItem.contact_number
For the Registration Year, we are parsing ThisItem.registration_date by converting the string value to a DateTimeValue and then using the Year function to get the desired year. Because our API returns dates in dd/MM/yyyy format, we specify the “en-GB” format string here for the parsing function.
Arrange our labels from left to right and then set the TemplateSize property of our Gallery to adjust the height of each row. I’ve gone with 40 here.

Although we have stretched the Height of our Gallery to fit our canvas, this is still an absolute value. We want this to stretch to the full height of the screen that we are embedding our custom page in. Set the Height property of the Gallery as follows:
App.Height - galMarketVehicles.Y

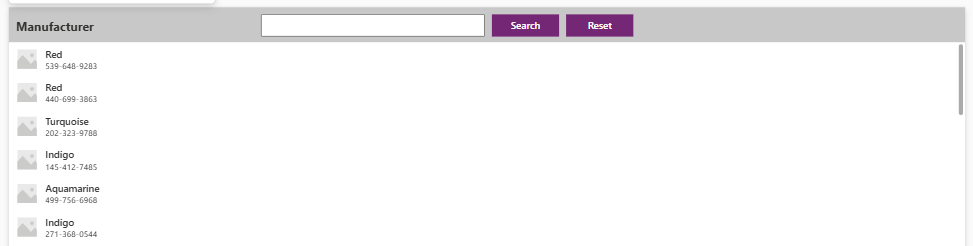
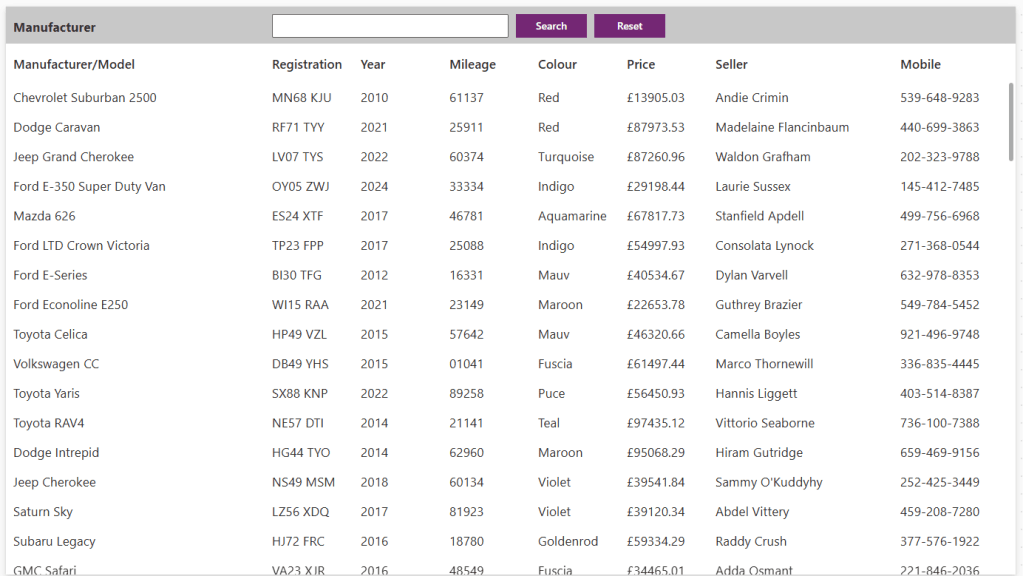
This sets out Gallery to be the full height of the screen minus the Y offset position. All being well, our page should look something like this:

I’ve chosen to add a row of labels between our search bar and the Gallery with the names of each column:
Lastly, we update the OnSelect property of our Search and Reset buttons. Search button should be set to:
ClearCollect(MarketVehicles, GetMarketVehicles.Run(txtManufacturer.Value));

And the Reset button set to:
Reset(txtManufacturer);
ClearCollect(MarketVehicles, GetMarketVehicles.Run(txtManufacturer.Value));

Click the Save button followed by the Publish button to publish our custom page.

Leave a comment