
Our flow canvas now looks as follows.

Now to add the calendar invite. Click on the + icon below Get Mechanic and select the Office 365 Outlook Connector. Click See more to see additional Actions.
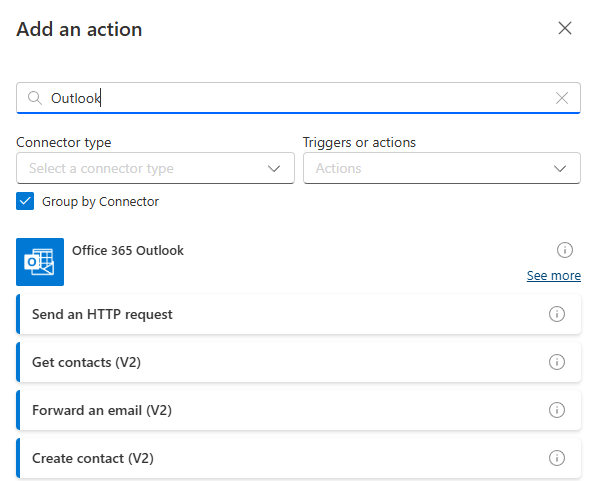
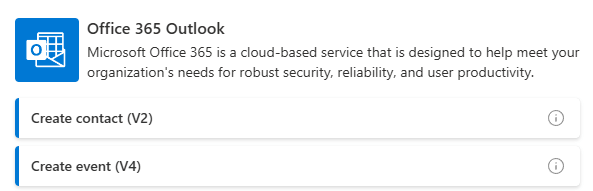
From there, choose the Create event (V4) Action.
Fill in the following parameters:
- Change step name to Set Calendar Appointment
- Calendar id – Calendar
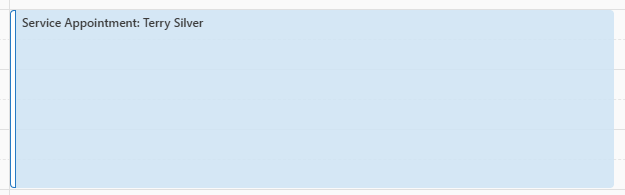
- Subject – Service Appointment: Full name from Get Customer step
The last step adds the customer name to the appointment subject.

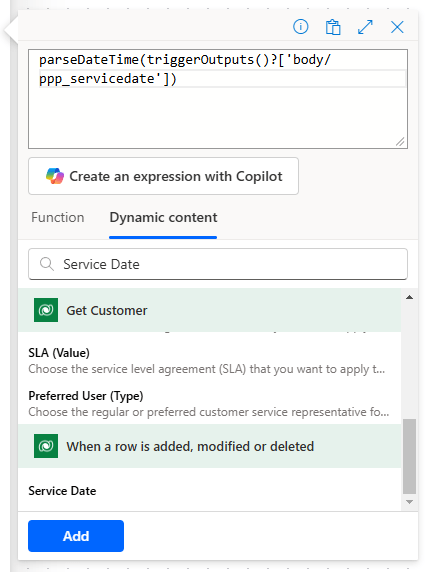
Skip the Start time parameter just for now. Highlight the End time field, and click the fx icon that appears to allow us to use Power FX functions to set the end time.
Lets assume the Service will take 3 hours. We will use the expression addHours(,3), but leave the cursor just before the comma here shown in the picture.
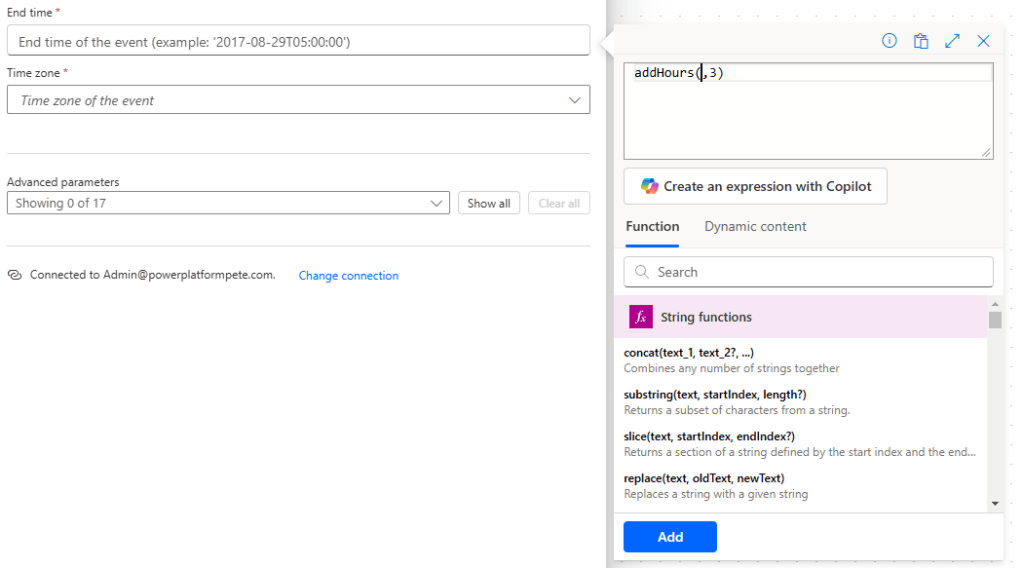
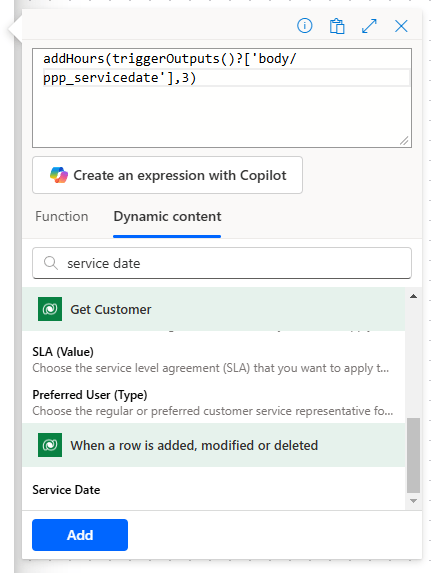
If we click Dynamic content, we can add output from previous steps into our expression. Select the Service Date from the When a row is added, modified or deleted step and click Add.
Now that we are familiar with combining Power FX and Dynamic content, complete the Start time field using the parseDateTime() function along with the Service Date from the When a row is added, modified or deleted step and click Add. This step handles some date time funniness for us.
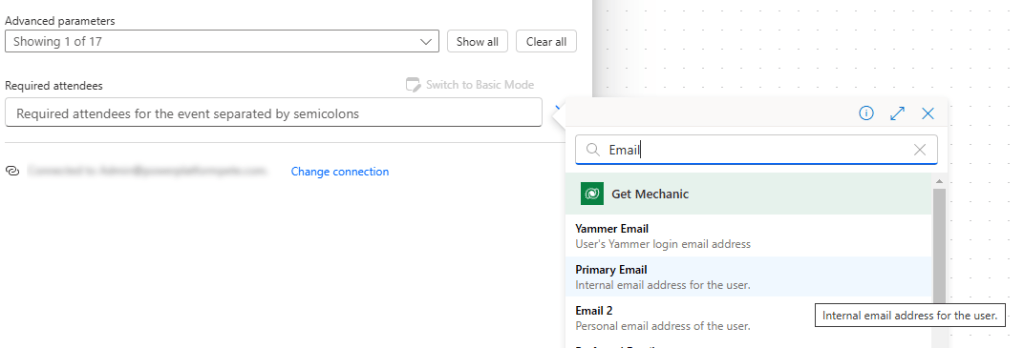
Under Advanced parameters, select Required attendees

From the Required attendees textbox that appears, click the Switch to Advanced Mode toggle (otherwise we cannot use dynamic content).

Complete this using the Primary Email value from the Get Mechanic step.
Now when the flow runs, Mechanic Francesco Musso gets the following calendar meeting.
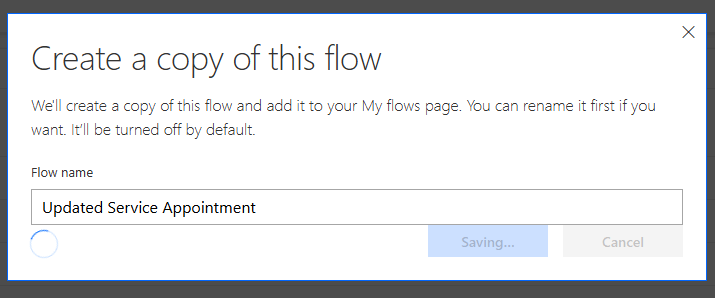
Note that we can copy the flow using the Save as button and name it Updated Service Appointment:
Within that flow, we can change the trigger as follows:
- Change type – Modified
- Filter rows – ppp_mechanic
This new flow will only run when the Mechanic column (ppp_mechanic) has been modified. This caters for the scenario when a Mechanic is not added when the record is created, but added sometime after.

As per the previous post, add the flows into our solution along with all connection references.
Let’s summarise what we’ve covered!
- Automated Triggers with multi Action flows
- Dataverse Triggers and Change Types
- Using Conditions in our flow logic
- Using Dynamic content from previous steps
- Using Power FX functions
- Copying flows
And breathe!

Leave a comment