
In our previous post, we used a Scheduled Flow to send out a weekly email reminder. In this post we’ll look into Automated Flows – those that are triggered by some platform event occurring. In our LaRusso Autos, we will create Outlook calendar meetings for the service mechanics when a new Service is booked.
Back in December 2024, we enhanced our LaRusso Autos app to add vehicle servicing in this post. Customers can arrange an appointment for their Vehicle to have a Service. I’ve updated the Service table to add a new optional Lookup column to the User table to record the Mechanic who will be carrying out the Service. The updated Form looks as follows.
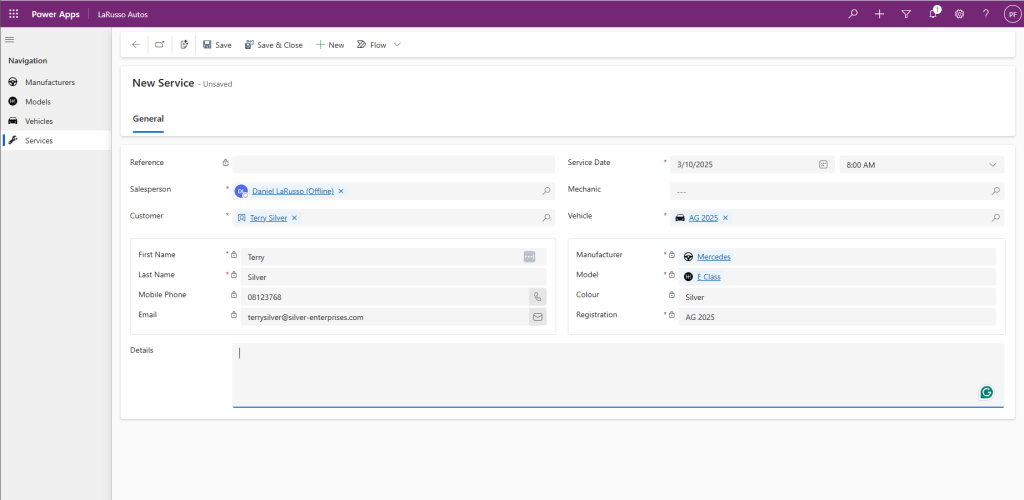
Note that we’ve set the lookup view on the Mechanic field to return only those Users also in the LaRusso Mechanics Team using what we learned from this post.

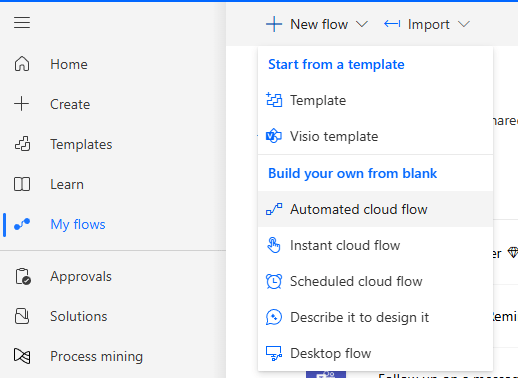
Following on from our previous post, we navigate to Power Automate and choose My flows from the side navigation. From the top ribbon, select + New flow > Automated cloud flow.
Complete the dialog that appears as follows
- Flow name – Create Service Appointment
- Choose your flow’s trigger – When a row is added, modified or deleted / Microsoft Dataverse.
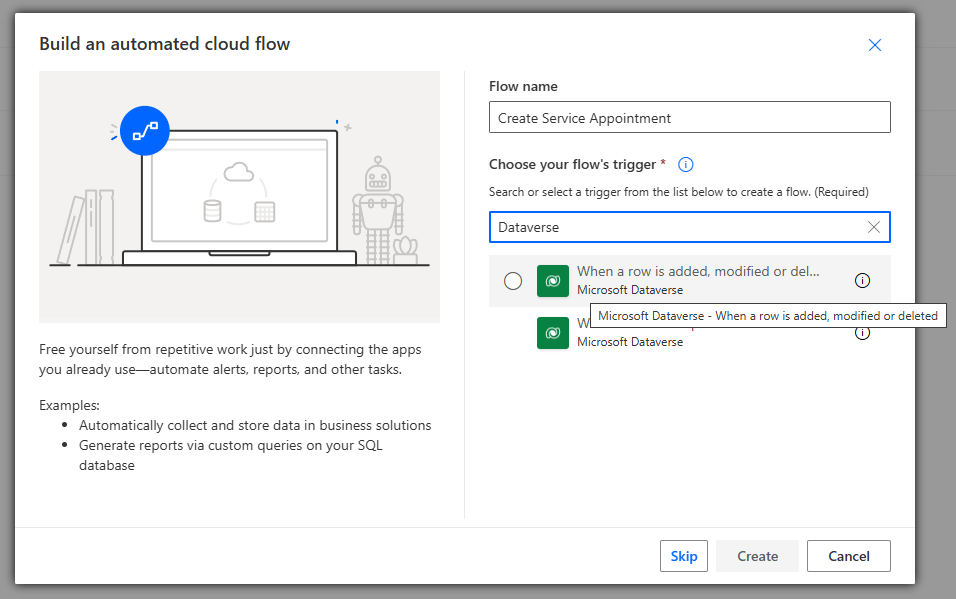
Note that Dataverse is Connector we are using today, but there are over 1000 Connectors in Power Automate, many of which have their own Triggers to explore!
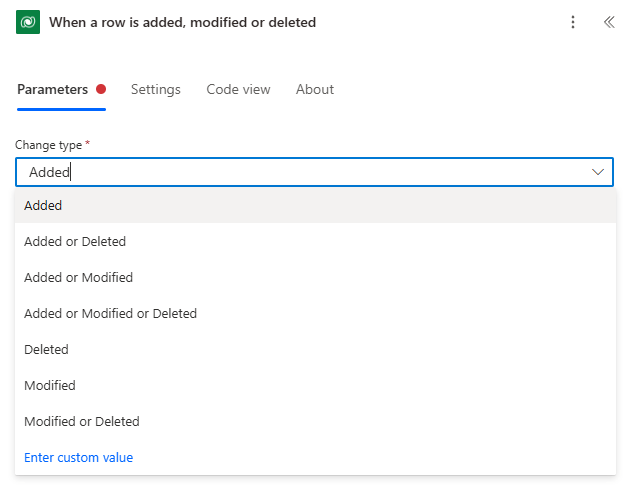
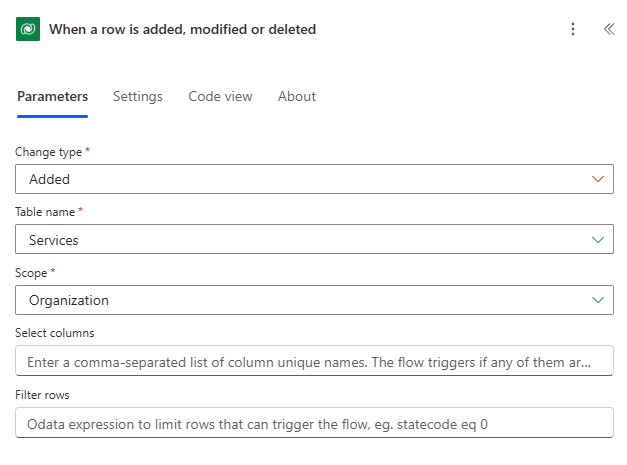
From the Power Automate Flow canvas, click the Dataverse Trigger to define the parameters. Set the Change type to Added – this flow is triggered when new rows are added, but you can see the options available below.
Complete the rest of the parameters as follows
- Table name – Services
- Scope – Organization
That is, this flow will run when new rows are added to the Service table.
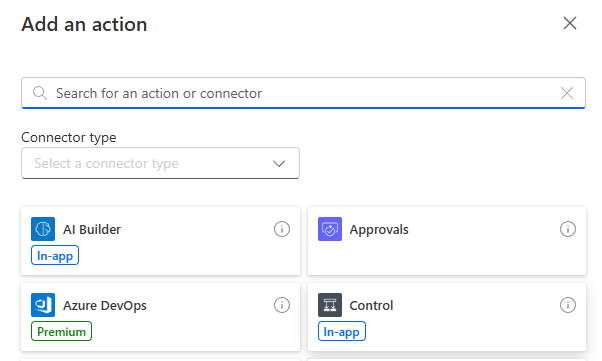
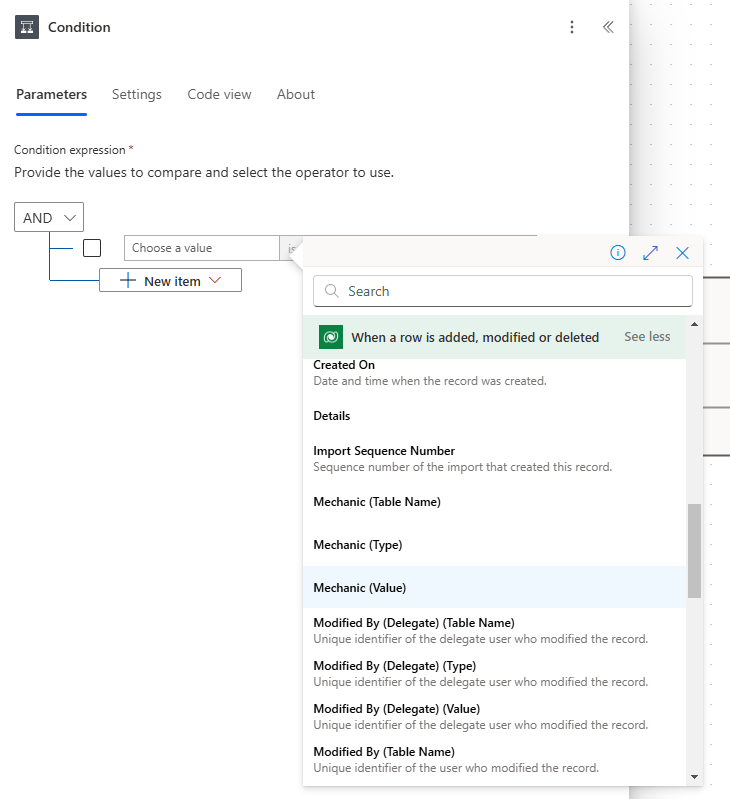
The Mechanic column that I added is optional. We should only create a calendar appointment if the Mechanic value has been set. on the Flow Canvas, click the + icon and select the Control connector.
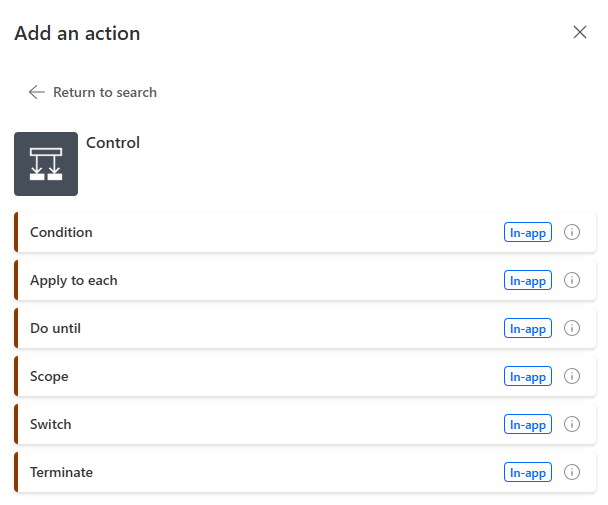
From the list of Actions available, select Condition.
Selecting Condition will update our flow as shown below. Click on the Condition block to set the parameters.
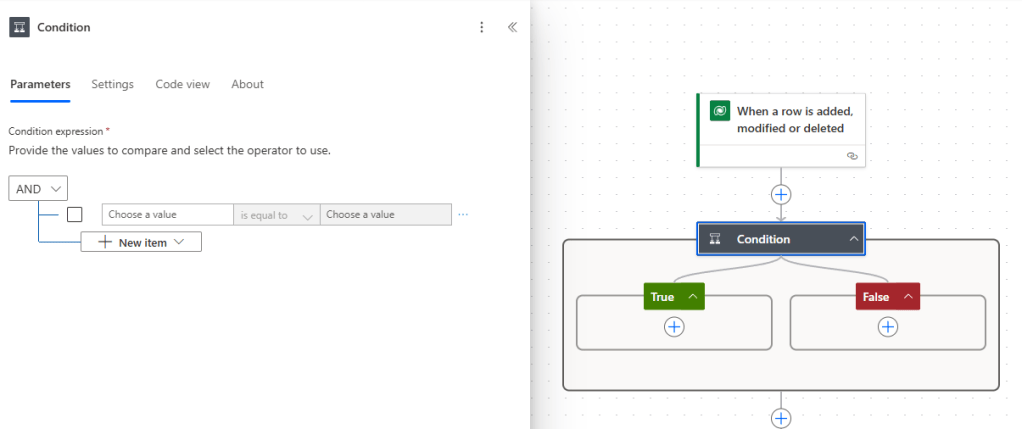
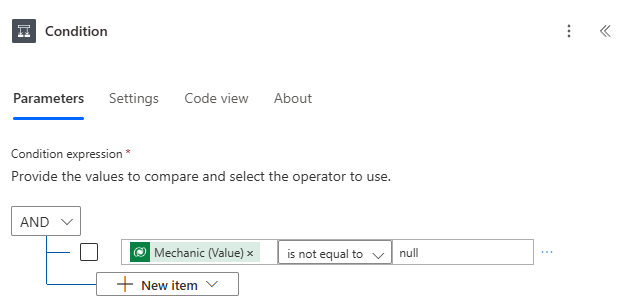
If we click on the Choose a value textbox, a little lightning bolt icon appears. Click on it to insert values from a previous step in the flow. Select Mechanic (Value) from the When a row is added, modified or deleted step.
Complete the condition by adding is not equal to null.
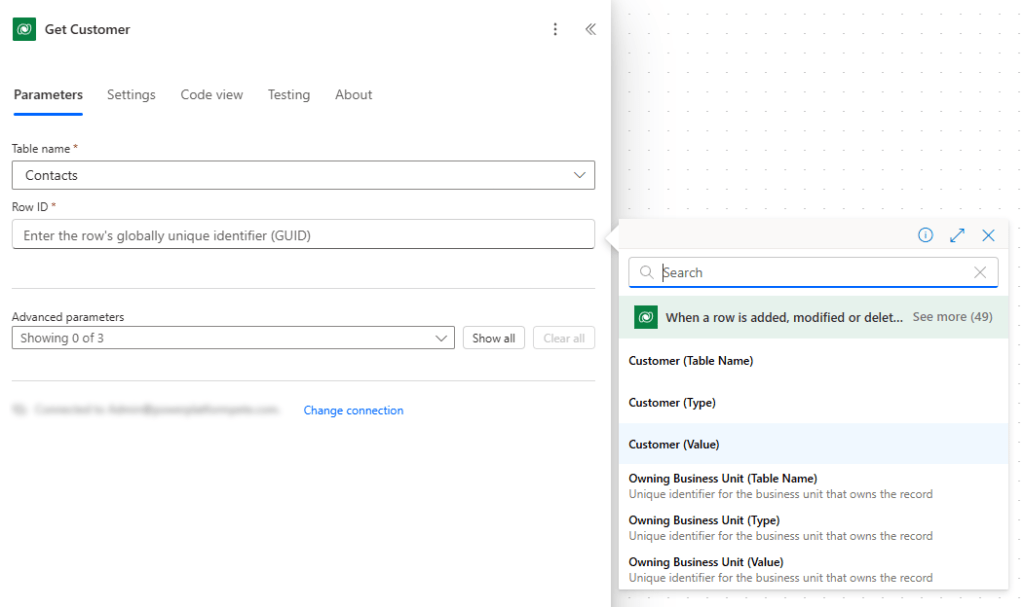
Next, we want to click the + icon under the True path of our Condition flow and add the Dataverse Connector Action List rows

Click on the Action to set the parameters thus:
- Click on the Action name, rename as Get Customer
- Table name – Contacts
- Row ID – Customer (Value) from the When a row is added, modified or deleted step.
The Customer (Value) from the When a row is added, modified or deleted step is a GUID from the record in the Service table that triggered the flow when it was created. We want to fetch the Customer details from the Contact table.
We’ll add another similar step to fetch the Mechanic details from the Users table:
- Click on the Action name, rename as Get Mechanic
- Table name – Users
- Row ID – Mechanic (Value) from the When a row is added, modified or deleted step.


Leave a comment