
Every Dataverse enabled Power Platform environment has a User table. In any environment, the User table contains the records of all licensed Power Platform users in your Microsoft tenant who have access to that environment; if your environment has an associated security group, the User table will only contain the records of licensed members of that group, otherwise it will contain the details of all licensed users in your Microsoft tenant. For more on environments, please read this previous post.
Furthermore, every Dataverse table (whether custom or out of the box) has multiple Lookup columns that reference the User table, such as:
- Created By
- Modified By
- Owning User
Of course, we can add User Lookup columns to tables if we wish. In this post, we added a Service table to our LaRusso Autos app – the column Salesperson is used to capture the User of our LaRusso Autos app who will be handling the customer. However, there is a problem here:

The default lookup view on this column is User Lookup View, which displays all users in the environment that meet the following conditions:

This also includes several non-human User accounts, the details of which you can find here. Ideally, we want to restrict this not only to human users, but in our case only those members of the LaRusso Autos Sales team. Let’s assume the staff are divided as follows:
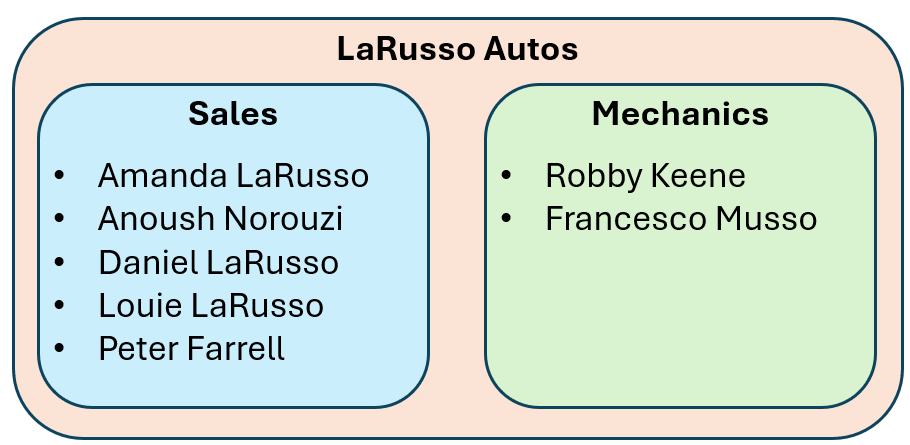
We want to create a new view named Sales Staff that returns only those people in our sales team, and then update the Service Form to reference the updated View. In fact, we may wish to have separate Views for Mechanics, Cleaning and IT staff. There a few ways we could do this.
The first approach would be to add a Choice column to the User table, with an option for each department. However, this approach restricts a User to being in a single department; this may be suitable for LaRusso Autos, but may not suit your solution.
Another approach would be to add multiple Yes/No (Choice) columns to the User table, one for each department. This approach can become unwieldy if you have several departments to keep track of, especially if people move in and out of these groups.
Both of the above approaches require modifying the User table, as well as manually updating User records either via the Dataverse user interface or adding the User table to the LaRusso Autos app, which we’d probably want to restrict access to using a well defined Security Role (see this post). Thankfully, I’ve discovered what I believe to be a better way of handling this.
Let’s assume we have created the following Security Groups and Teams as per this post:

We want to create custom Views for each Team that list only the members of that Team. The Dataverse interface doesn’t allow us to do this, but that doesn’t mean it’s not possible…
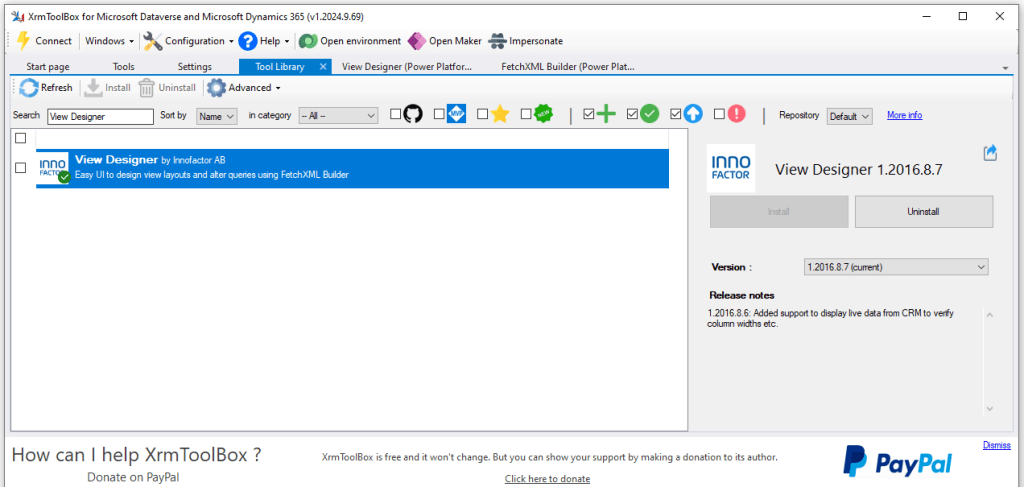
We begin by installing XRMToolbox, a Windows application that connects to Microsoft Dataverse instances. Once installed, click on the Tool Library tab. Search for View Designer, and click the Install button.
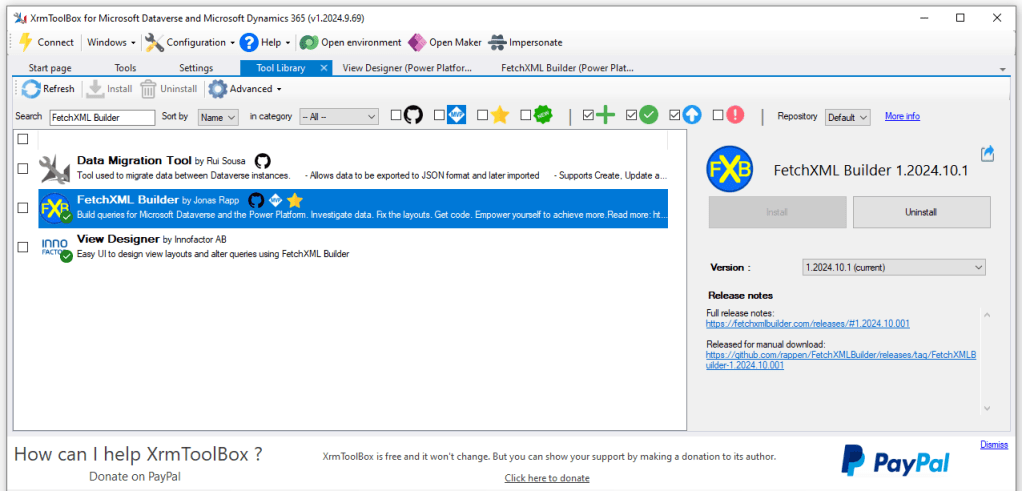
Next, search for FetchXML Builder and install that too.
All Views that we create in Power Platform are stored as markup code known as FetchXML. In any Dataverse enabled environment, you can take a look at the View table to see the underlying FetchXML code for every View in that environment, although you may not edit it.
View Designer allows us to retrieve the underlying markup for any View; FetchXML Builder allows us to modify that markup, and then View Designer allows us to publish the updated markup back to our environment. In other words, edit access to the View table!
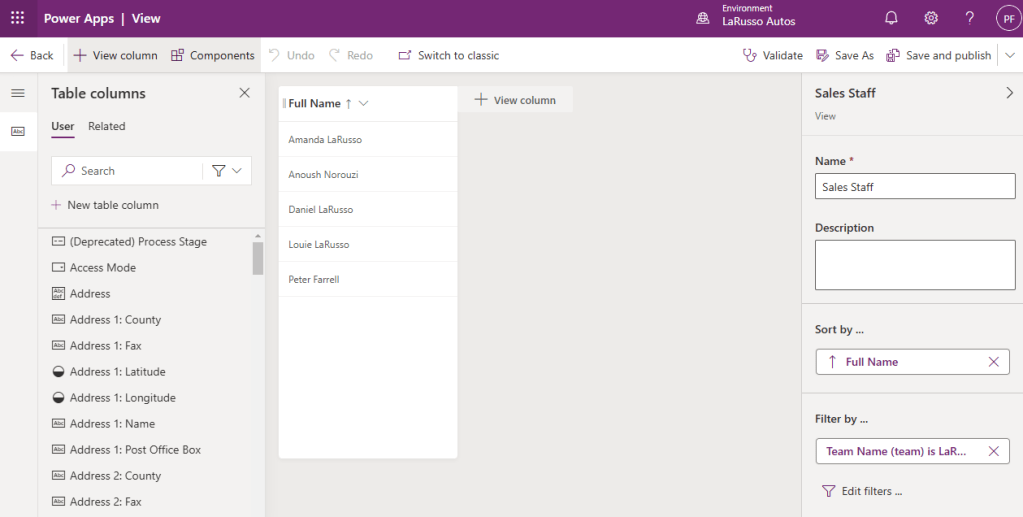
Let’s begin by creating a new view that we can edit in XRMToolbox. Go to the solution view of our LaRusso Autos app and selecting Tables > User > Views from the side navigation. Click the + New view button from the top ribbon, and create a new View named Sales Staff. The default view will list only the Full Name column, with no filters or sorting applied. Click the Save and publish button.

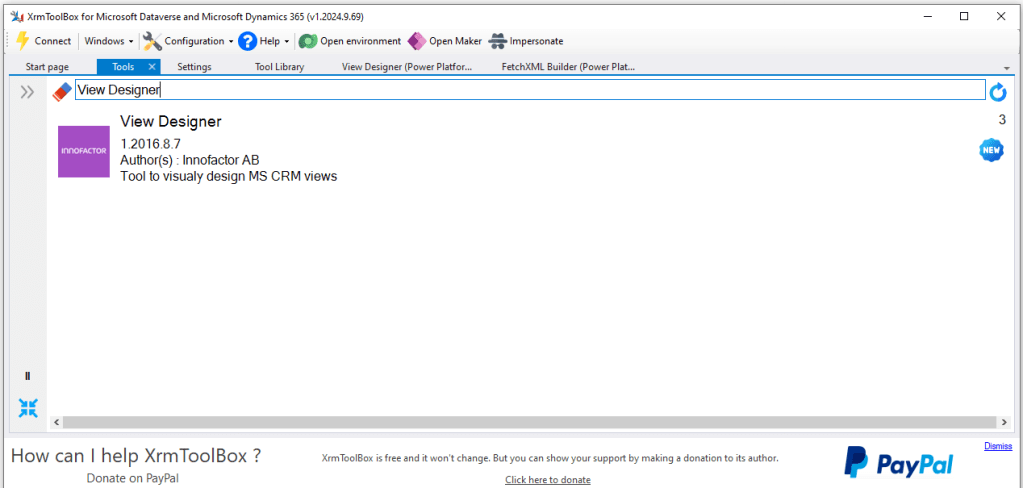
Next, we go to XRMToolbox. Click the Connect button in the top menu to connect to your Power Platform environment using your login credentials. Click on the Tools tab, search for View Designer and click to open.
Within View Designer, click the Open button. Complete the Select View dialog as below, the click the OK button.
- Entity – systemuser (User)
- View – Sales staff
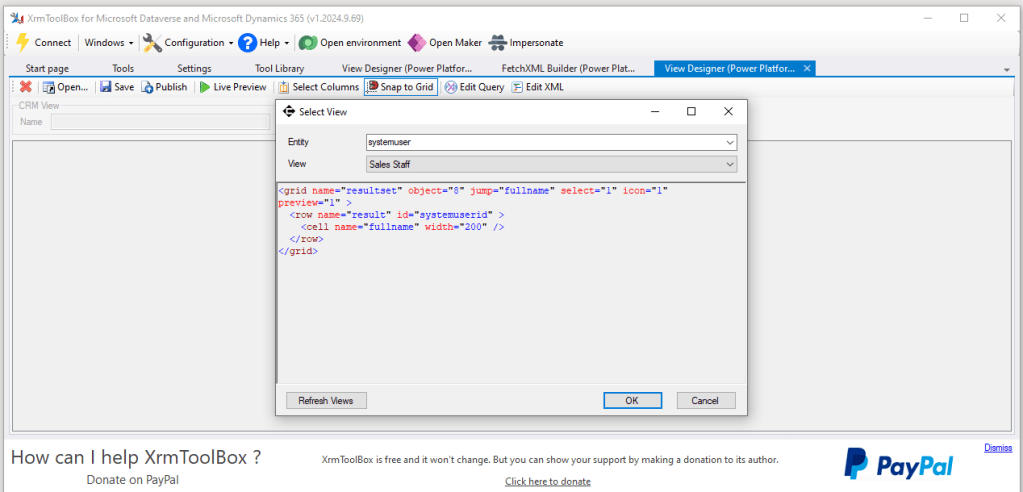
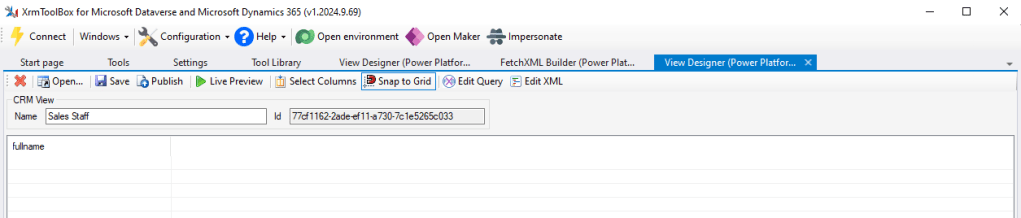
It looks like nothing has happened as the resulting screen is blank, save for the Name and Id of the View we have loaded and its columns.
Click on the Edit Query button to view the underlying markup in FetchXML Builder:
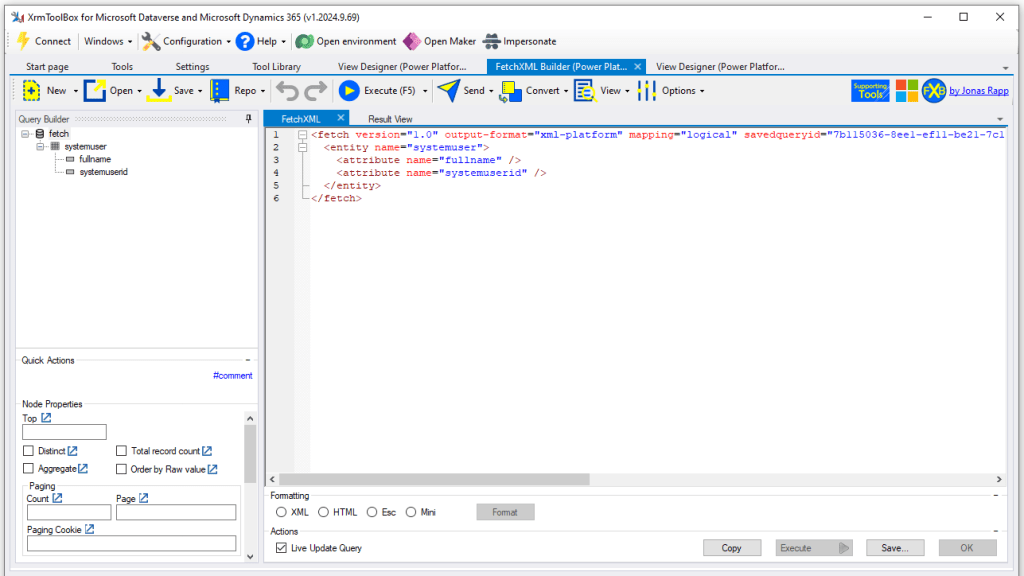
Replace lines 2-5 with the following markup (source code found here).

What are we doing here? In this post, we covered the use of link tables for custom Many-to-Many relationships where we had to retain some information about the nature of the relationship. Dataverse has several out-of-the-box Many-to-Many relationships, such as the relationship between the User and Team tables.

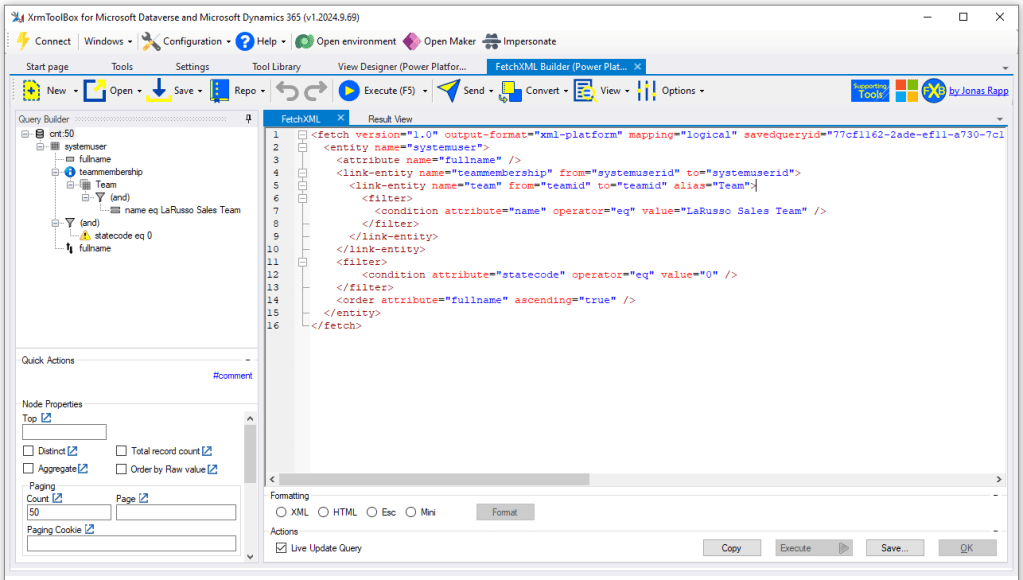
That is, a User can be a member of many Teams, and a Team can contain many Users. The FetchXML markup above does the following:
- Joins the systemuser (User) table to the teammembership table where the systemuserid values match.
- Joins the teammembership table to the team (Team) table where the teamid values match.
- Applies a filter to focus only on the Team named LaRusso Sales Team.
- Applies a filter to focus only on Active Users (statecode)
- Returns the Full Name of the matching Users
- Orders the results by ascending name order.
Having updated our FetchXML, click the Send button to return to View Designer.
From View Designer, click the Publish button.
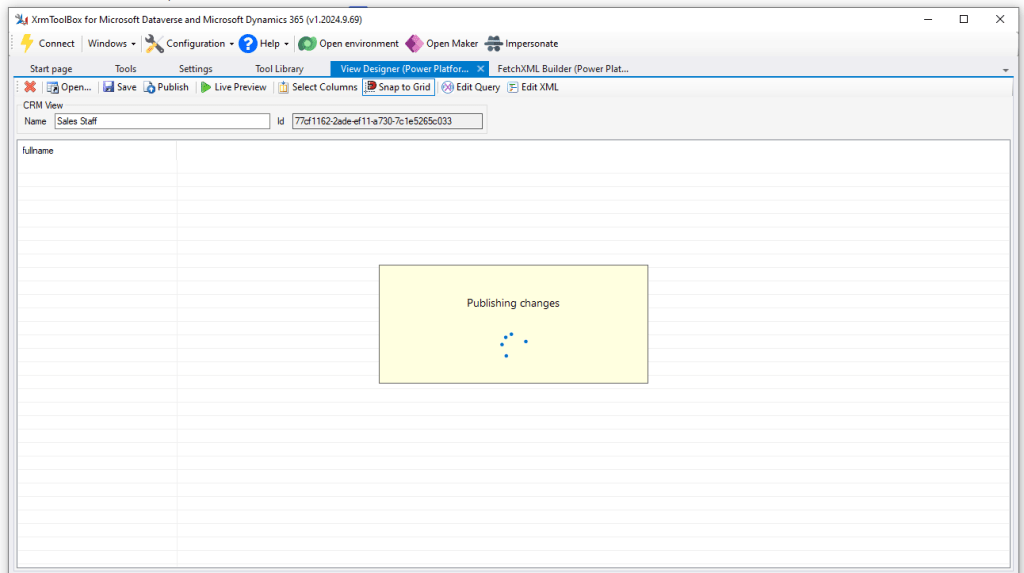
We can view the View changes in our Solution
If we return to our Service Form, change the Default view of our Salesperson column to be our new View – Sales Staff and click Save and publish.

Now when we create a new Service record in our LaRusso Autos app, we only see those Users who are also members of the LaRusso Autos Sales Team.

Repeat as necessary in your solution for your Teams too!

Leave a comment