
Our previous post covered Power Platform environments and how to restrict access through the use of security groups. However, not all our environment users are created equally – that is, we would like to define a hierarchy of roles within an environment so that users only have the access to data and applications they need.
For our LaRusso Autos app we will create two types of user:
- Autos Sales – a user with read and write access to the Manufacturer, Model and Vehicle tables.
- Autos Reader – a user with read only access to the application data.
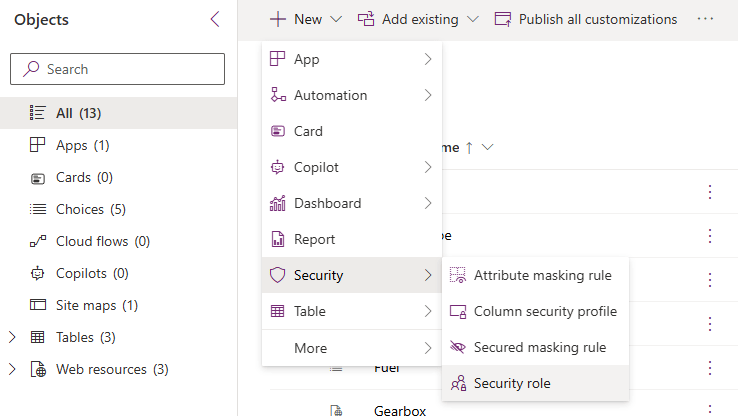
We begin from the solution view – select All from the side navigation, then + New > Security > Security role from the top ribbon.
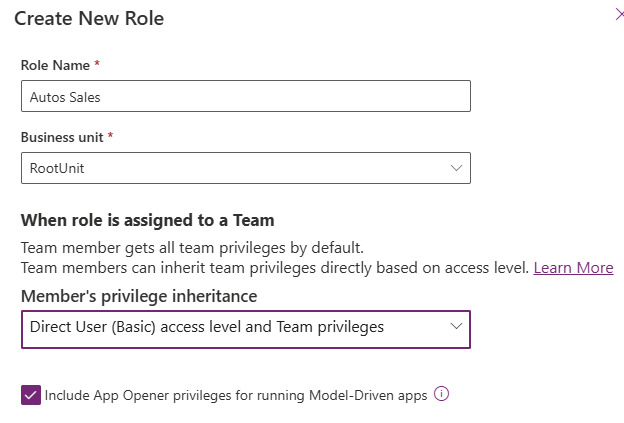
A dialog screen will open on the right – complete as follows:
- Role Name: Autos Sales
- Business Unit: leave as default, mine is listed as RootUnit
- Member’s privilege inheritance: leave as default as shown
- Checked: Include App Opener privileges for running Model-driven apps
Click the Create button to open the Security Role configuration screen (yes, the interface is horrible)
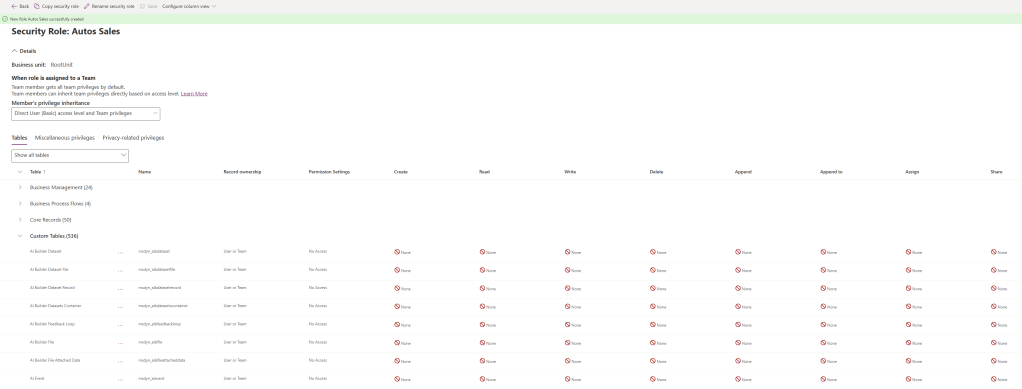
Under Custom Tables, search for our three tables of interest:
- Manufacturer
- Model
- Vehicle
Change each column as follows:
- Create: Organization
- Read: Organization
- Write: Organization
- Delete: None (no delete privileges)
- Append: Organization
- Append to: Organization
- Assign: Organization
- Share: Organization
The click Save. If we change the tables dropdown to Show only assigned tables, we should see the following:

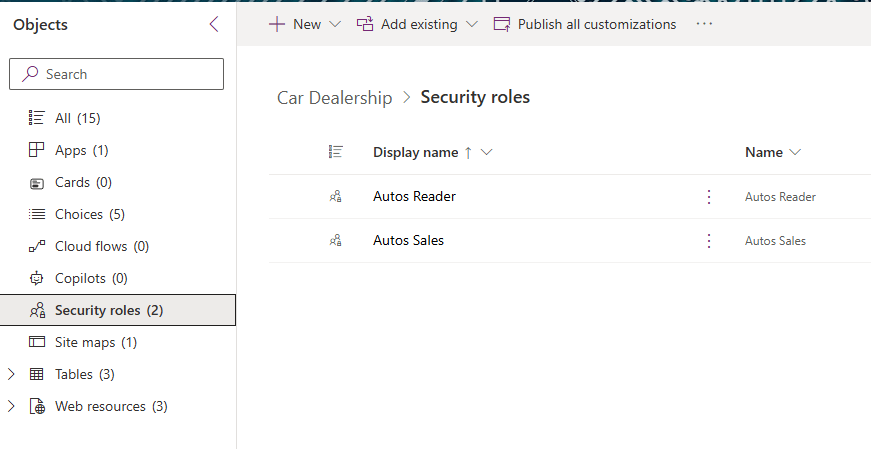
But we’re not done yet! From the navigation ribbon on top, select Copy security role to be presented with a copy dialog. Set the name of the copied role to Autos Reader and click Create. Click the Back button from the ribbon navigation to see both our Security Roles in the solution view.
We need to edit the Autos Reader role – click to edit and launch the Security Role configuration screen again. This time we want to set the following values for each of our three tables:
- Create: None
- Read: Organization
- Write: None
- Delete: None
- Append: None
- Append to: None
- Assign: None
- Share: None
Click Save and then click Back. From the solution view, select both roles and click the Publish button.
From our solution view, select Apps. Click the three dots beside the LaRusso Autos app and then Share from the dialog that is displayed. This will launch the Share side menu.
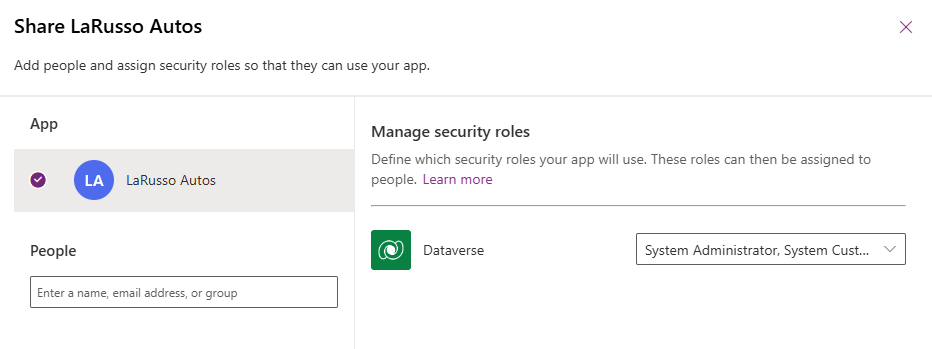
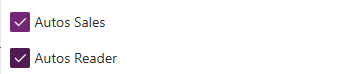
Select our app, then click on the dropdown beside Dataverse and select our two new security roles
This associates the roles with the app. Next we select a user we wish to share the app with:
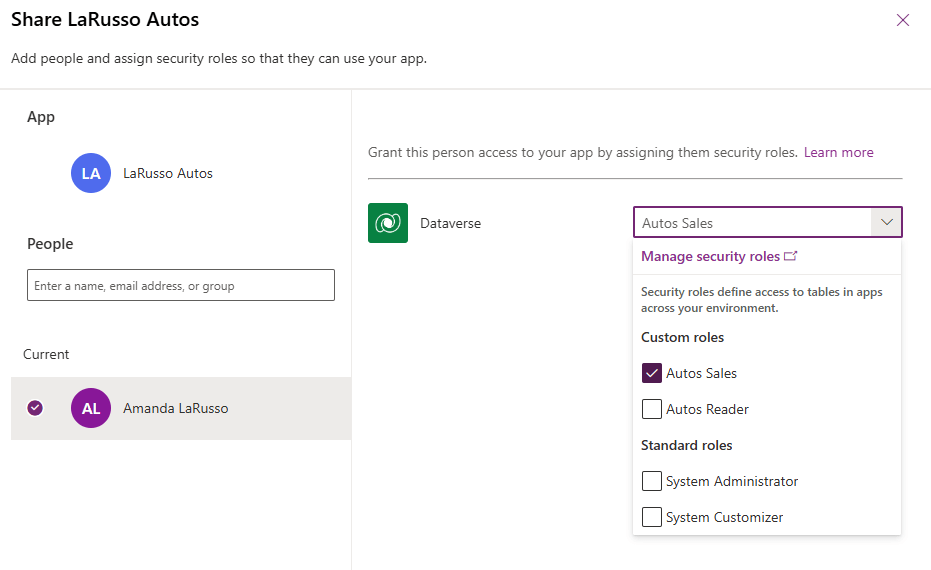
In the example above, I’ve assigned the Auto Sales role to user Amanda LaRusso, giving her read write access to the app.
Using the same process, I can assign the Autos Reader role to user Robbie Keane, giving him read only functionality when using the app.
To summarise:
- Security Groups are used to limit access to an environment.
- Security Roles limit what individual users can do within an environment.

Leave a comment